Roti Roundness Challenge
Your Score
- Maintain consistent distance from the center.
- Avoid sharp angles or jagged edges.
- Smooth, continuous motion mimics proper rolling technique.
You’ve spent twenty minutes kneading dough, feeling pretty good about your progress. You sit down at the rolling board, pick up your belan (rolling pin), and start flattening that ball of flour and water. But five minutes later, you’re staring at a shapeless blob with jagged edges, wondering why it looks more like a continent map than a circle. If this sounds familiar, you’re not alone. Making a perfectly round roti is less about magic and more about physics, patience, and a few specific techniques most people skip.
Here’s the truth: achieving that geometric perfection isn’t just for aesthetic Instagram posts. It actually matters for cooking. Uneven rotis cook unevenly. The thin parts burn while the thick center stays raw and doughy. When you master the round shape, you ensure every bite has that characteristic charred spot and soft interior balance. So, let’s break down exactly how to get there, from the moment you mix the flour to the final puff on the tawa.
The Foundation Starts in the Bowl
Most people blame their rolling skills for bad shapes, but the problem often starts way earlier, during the mixing phase. If your dough is too dry, it cracks when you roll it. Too wet, and it sticks to everything, forcing you to use excess flour which creates hard spots. The ideal dough consistency is crucial.
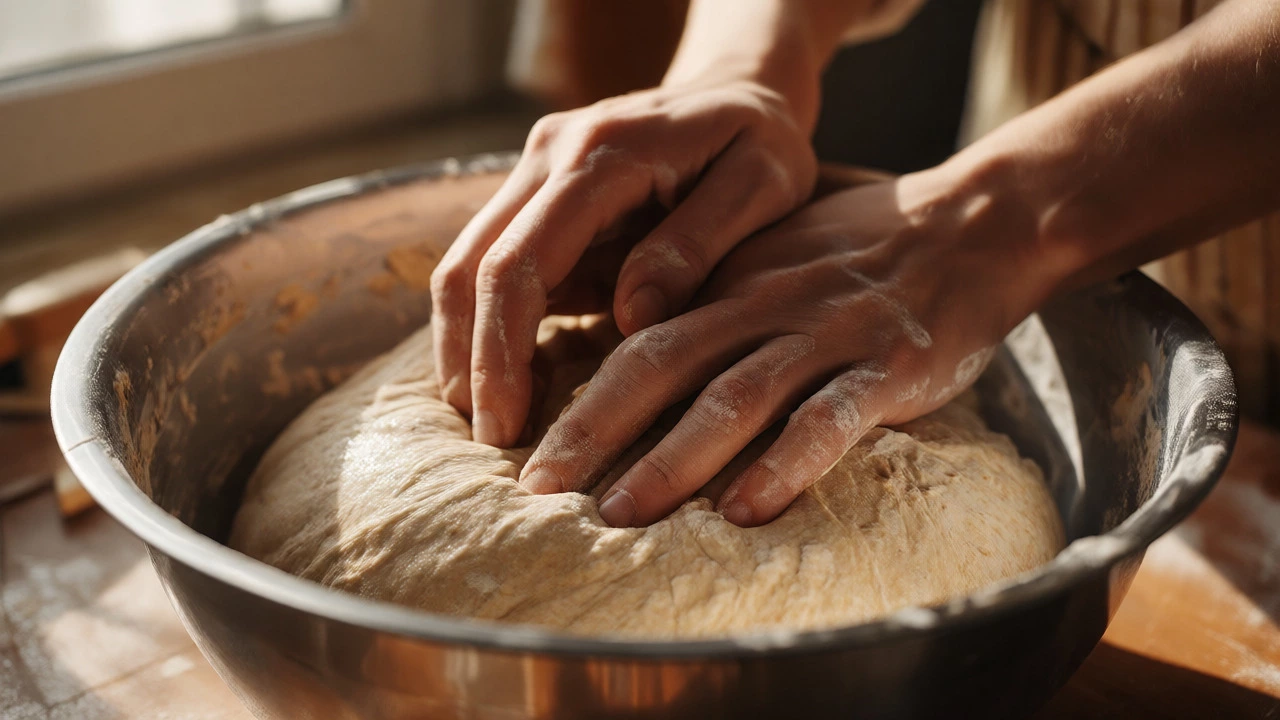
Start with whole wheat flour (atta). For two cups of atta, add half a teaspoon of salt and a teaspoon of oil. The oil acts as a lubricant within the gluten network, making the dough more pliable. Add water gradually-about three-quarters of a cup to start. Mix until it forms a shaggy mass, then knead. You need to knead for at least five to seven minutes. This develops the gluten strands that give the roti elasticity. If you rush this, the dough will snap back like a rubber band when you try to roll it out.
Once kneaded, cover the dough with a damp cloth and let it rest for 15-20 minutes. This resting period relaxes the gluten. Without it, no amount of rolling skill will keep the circle stable; the dough will fight you, shrinking back into an oval or irregular shape every time you lift the rolling pin.
Portioning: The Hidden Variable
Before you even touch the rolling pin, look at your dough balls. Are they all the same size? If one ball weighs 40 grams and another weighs 50 grams, the larger one will require more pressure to flatten, leading to uneven thickness and distorted shapes. Use a kitchen scale if you’re serious about consistency, or practice dividing the dough by eye into equal portions.
Roll each portion into a smooth sphere between your palms. No cracks, no seams. A smooth surface ensures the dough expands evenly outward rather than tearing or stretching unevenly. Dust these balls lightly with dry flour, but don’t coat them heavily. Excess dry flour on the surface prevents the layers from bonding properly if you’re making layered parathas, and it burns easily on the hot griddle.
The Rolling Technique: Physics Over Force
This is where the magic happens. Most beginners make the mistake of pressing straight down through the center repeatedly. This pushes the dough outward in all directions but often creates a "bullseye" pattern where the center remains thicker than the edges. Instead, think of the rolling motion as a guided expansion.
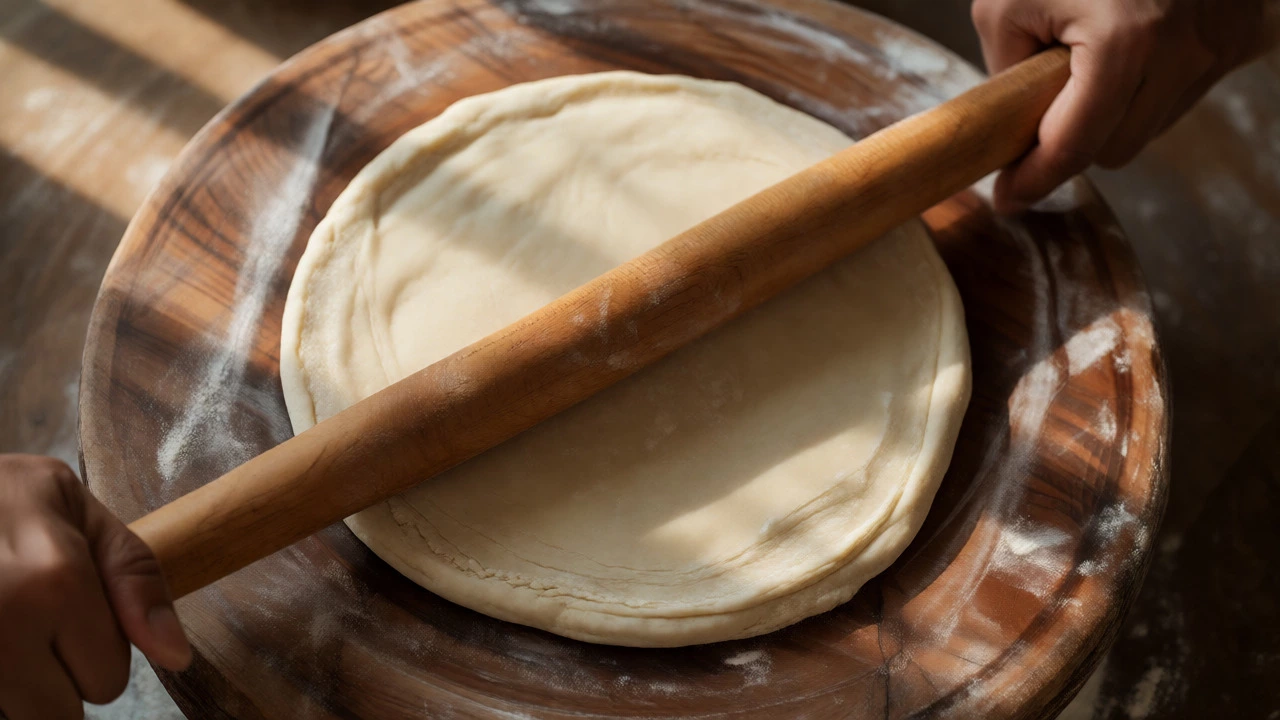
Place your dough ball on a clean, dry surface. Lightly dust the top and bottom. Hold the belan with both hands, keeping your elbows tucked in for control. Start by gently pressing the ball down to create a small disc, about two inches wide. Do not roll yet. Just press.
Now, begin rolling. Here is the secret: rotate the dough 90 degrees after every single stroke. Roll forward, lift, rotate the dough a quarter turn, roll forward again. This rotation ensures that any slight asymmetry in your hand pressure is corrected with every pass. If you only roll back and forth without rotating, you’ll end up with an oval because you naturally apply more pressure along the axis of your dominant arm.
| Mistake | Resulting Shape | The Fix |
|---|---|---|
| Rolling only in one direction | Oval or rectangle | Rotate dough 90° after every stroke |
| Pressing too hard in the center | Bullseye (thin edges, thick center) | Apply even pressure across the entire diameter |
| Dough sticking to the board | Torn or jagged edges | Use minimal flour; check dough hydration |
| Rolling from edge to edge immediately | Irregular star-shape | Start from center, work outward gradually |
Managing Thickness and Size
As the roti grows larger, it becomes fragile. The outer edges are thinner and tear easily. To prevent this, stop rolling when the roti is slightly smaller than your target size. Let it rest for ten seconds. Then, very gently, roll the outer rim only. By focusing on the perimeter, you expand the diameter without stressing the already-thin center.
If you notice the edges curling up or becoming translucent, you’ve gone too far. At this stage, aim for a uniform thickness of about 1-2 millimeters. Consistency here is key for the final cook. If one side is thicker, it won’t puff up correctly. Flip the roti occasionally while rolling to ensure both sides are getting equal attention and aren’t sticking to the board.
Cooking: Preserving the Circle
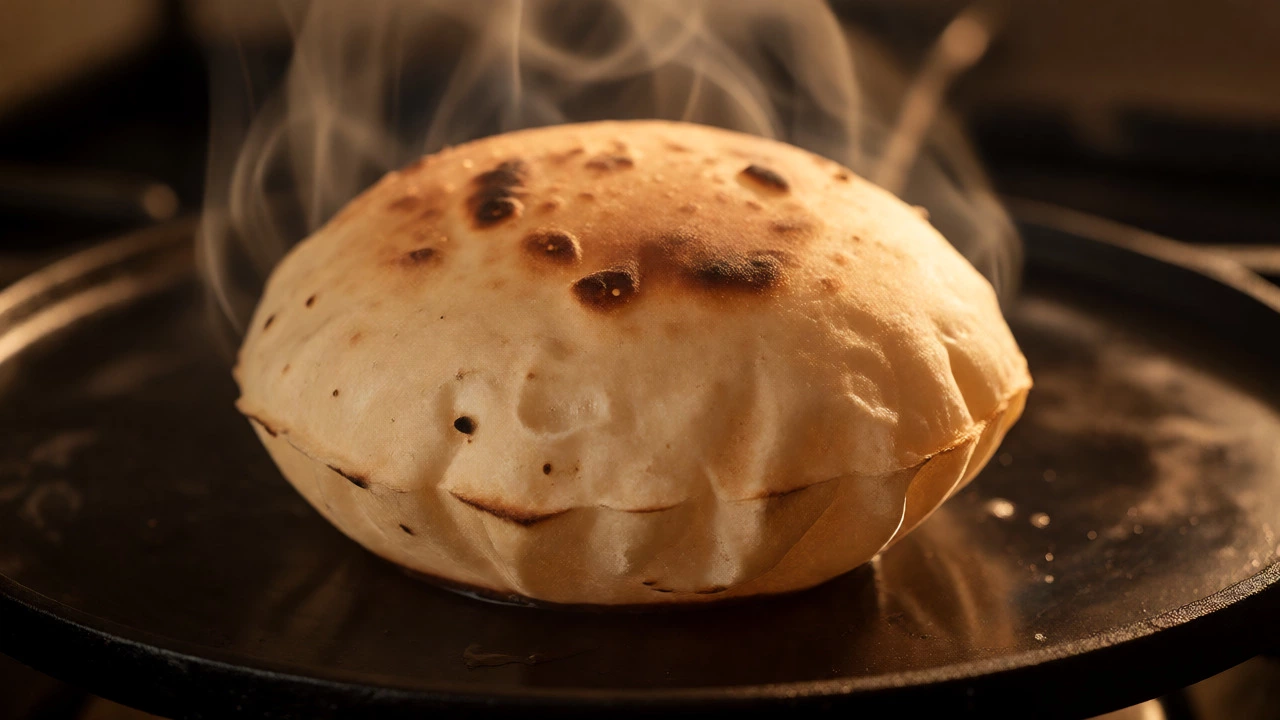
You’ve rolled a perfect circle. Don’t ruin it now. Heat your tawa (griddle) over medium-high heat. Test it by sprinkling a drop of water; if it sizzles and evaporates instantly, it’s ready. Gently slide the roti onto the tawa. Avoid dragging it, which can stretch the edges and distort the shape.
Wait for bubbles to form on the surface. This usually takes 30-45 seconds. Flip it once. Press down gently on the edges with a cloth or spatula to encourage even contact with the heat. Now, flip it again. If the dough was rolled evenly, steam trapped inside will cause it to puff up into a balloon. This puffing action stretches the roti uniformly. If it doesn’t puff, your dough might have been too thick or the heat too low. But even if it doesn’t puff, a well-rolled roti will still cook evenly and taste great.
Finish with a light brush of ghee or butter. This adds flavor and keeps the roti soft as it cools. Stack them in a cloth-lined basket to trap steam, which helps maintain the circular shape and flexibility.
Troubleshooting Your Shapes
Even pros have off days. If your rotis consistently come out square-ish, check your posture. Are you leaning over the board? Try standing upright, letting gravity help guide the rolling pin. If your rotis have holes, your dough was likely too dry or you used too much dry flour during rolling. Reduce the flour dusting and increase hydration slightly next time.
Remember, practice builds muscle memory. Your first ten batches might look like abstract art. That’s fine. Focus on the rotation technique and the resting time. Once those click, the circles follow naturally.
Why does my roti shrink back when I roll it?
This is caused by tight gluten strands. You either didn't knead long enough or didn't let the dough rest. Cover the dough with a damp cloth and wait 15-20 minutes before rolling again. The gluten needs time to relax.
Can I use a non-stick pan instead of a tawa?
Yes, but a cast-iron tawa retains heat better, which helps with the initial sear and puffing. A non-stick pan works fine but may require slightly lower heat to avoid burning the outside before the inside cooks. Ensure the pan is completely dry before placing the roti.
How do I know if my dough is too wet?
If the dough sticks to your fingers and the rolling board excessively despite dusting with flour, it's too wet. Add a tablespoon of flour at a time and knead briefly until it stops sticking. Ideally, the dough should feel like an earlobe-soft but not sticky.
Does adding oil to the dough help with rolling?
Absolutely. Oil coats the gluten strands, preventing them from binding too tightly. This makes the dough more extensible and easier to roll into thin, even circles without tearing. It also keeps the cooked roti softer for longer.
Why are my roti edges burning while the center is raw?
This indicates uneven thickness. The edges were rolled thinner than the center. Focus on rotating the dough frequently and applying even pressure across the entire surface. Check the thickness by holding it up to the light before cooking.