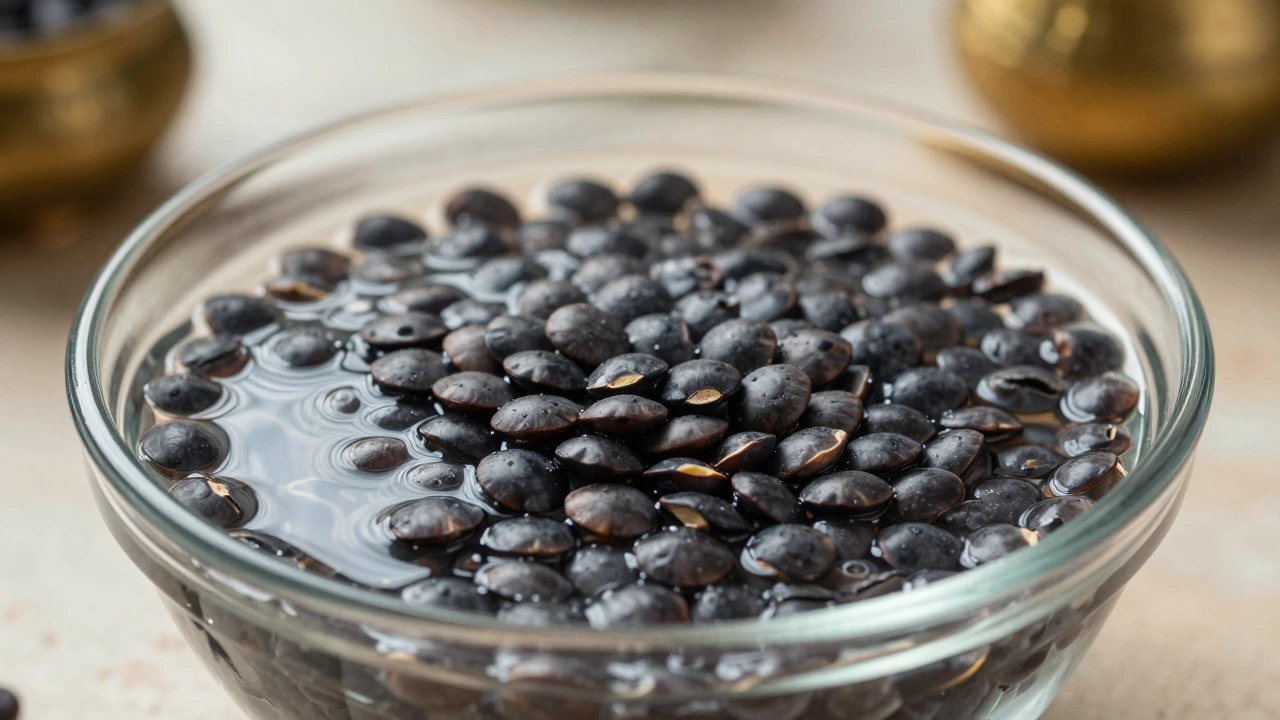
Urad Dal Soaking & Dosa Batter Calculator
Your Custom Plan
Always rinse urad dal thoroughly before soaking to remove surface starches.
Ever tried making dosas at home only to end up with a batter that refuses to spread or turns out dense and chewy? Chances are, the problem isn’t your frying technique-it’s how you soaked your urad dal. Getting the soak time right is the single most critical step in creating light, fluffy, and crispy dosas. If you rush it, the grains stay hard; if you overdo it, they turn mushy and fail to ferment properly.
In this guide, we’ll break down exactly how long to soak urad dal, why temperature matters more than you think, and how to pair it perfectly with rice for that authentic South Indian breakfast experience. Whether you’re using a pressure cooker or just boiling water, these steps will transform your batter game.
Why Soaking Urad Dal Matters
Urad dal (black gram) is the engine behind dosa batter. Unlike other lentils, urad dal has a unique protein structure that allows it to trap gas during fermentation. This gas expansion is what gives dosas their signature spongy texture and airy holes. But before fermentation can happen, the dal needs to be rehydrated thoroughly.
Soaking softens the outer skin of the lentils, allowing the grinder to break them down into a smooth paste without adding excess water. If the dal isn’t soaked enough, you’ll need to add more water to grind it, which dilutes the batter and prevents proper rising. On the flip side, under-soaked dal results in a gritty texture that ruins the mouthfeel of your dosa.
| Soak Duration | Texture Result | Fermentation Potential |
|---|---|---|
| Less than 30 minutes | Gritty, coarse paste | Poor - gas pockets don’t form well |
| 1-2 hours | Smooth but dense | Moderate - may require longer fermentation |
| 3-4 hours | Silky, aerated paste | Excellent - ideal for fluffy dosas |
| Over 6 hours | Mushy, watery | Risk of over-fermentation and sourness |
The Ideal Soaking Time for Urad Dal
For standard dosa batter, the golden rule is to soak urad dal for 3 to 4 hours in room temperature water. This duration allows the lentils to swell evenly without breaking apart. You’ll know they’re ready when you can easily crush a soaked grain between your thumb and forefinger-it should feel soft and yield completely.
If you’re short on time, you can speed up the process by soaking in warm water (not hot) for about 2 hours. However, avoid using boiling water directly on raw dal unless you’re following a specific quick-soak method, as high heat can denature proteins prematurely and affect fermentation.
A pro tip: rinse the urad dal thoroughly before soaking. Remove any broken pieces or stones, then wash until the water runs clear. This step removes surface starches that can make the batter sticky and harder to spread.
Water Temperature and Seasonal Adjustments
Here’s where many home cooks go wrong: ignoring ambient temperature. Fermentation is driven by wild yeast and bacteria present in the environment, and their activity levels depend heavily on warmth. In summer months (like July in Wellington, though our winters are mild), room temperature might hover around 20-25°C (68-77°F). In colder climates or winter seasons, temperatures drop below 18°C (64°F), slowing down microbial activity.
To compensate for cold weather, consider these adjustments:
- Use lukewarm water for soaking-around 30-35°C (86-95°F). This jump-starts hydration without cooking the dal.
- Extend soaking time slightly to 4-5 hours if the kitchen is chilly.
- Add a pinch of sugar to the batter after grinding to feed the yeast during fermentation.
In tropical regions like Chennai or Mumbai, where temperatures often exceed 30°C (86°F), 2-3 hours of soaking is usually sufficient. Over-soaking in heat can lead to premature fermentation, resulting in a sour taste even before you’ve started the resting phase.
Pairing Urad Dal with Rice: The Perfect Ratio
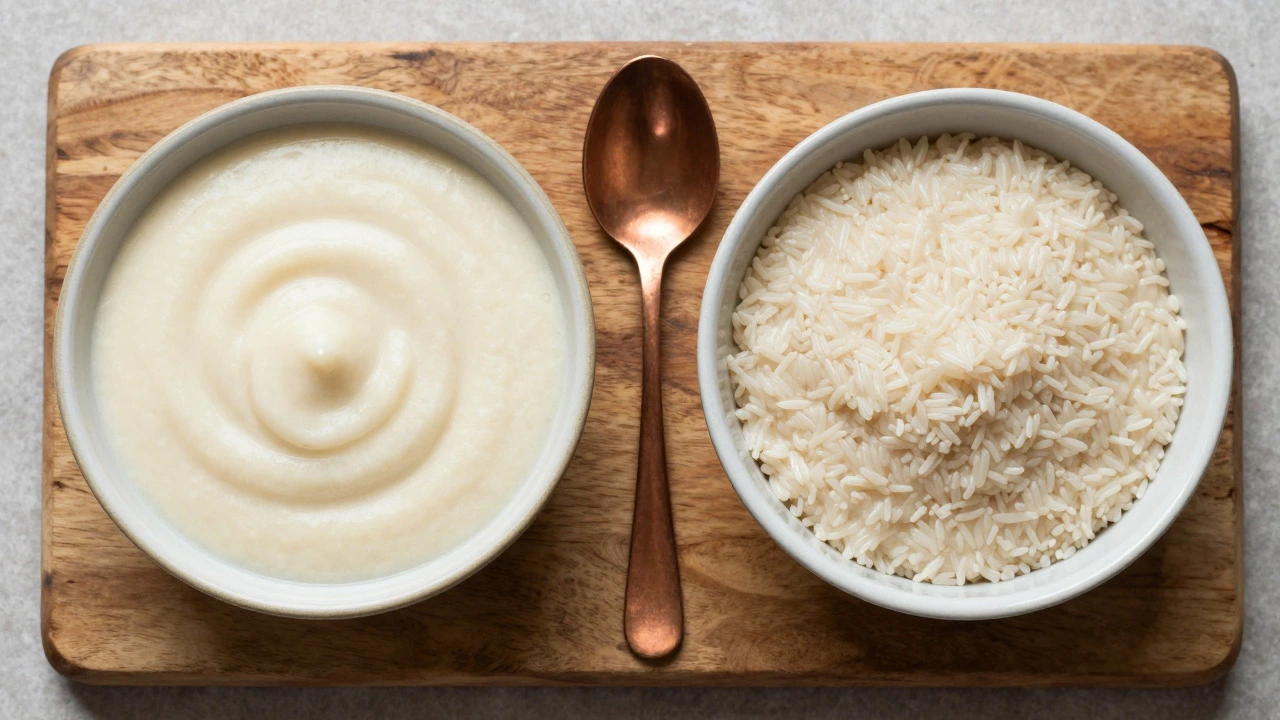
Dosa batter isn’t made from urad dal alone. It requires a balance with rice to achieve the right consistency and flavor profile. The classic ratio is 1 part urad dal to 3 parts rice. For example, if you use 1 cup of urad dal, combine it with 3 cups of parboiled rice or idli rice.
Both ingredients should be soaked together for the same duration-3-4 hours. Parboiled rice absorbs water faster than raw rice, so ensure both components are equally hydrated before grinding. Some recipes also include poha (flattened rice) or fenugreek seeds (methi) for added crispiness and aroma, but these are optional enhancements.
When grinding, start with the urad dal first. Add minimal water-just enough to help the blades spin. The goal is a thick, creamy paste that holds its shape. Then grind the rice separately into a coarse meal-like texture. Mixing them afterward ensures the final batter has the right structural integrity for spreading thin on a hot tawa.
Grinding Techniques for Best Results
Your blender or wet grinder plays a crucial role in achieving the desired batter quality. Here’s how to optimize each tool:
- Wet Grinder: Ideal for large batches. Grind urad dal slowly, scraping down sides frequently. Aim for a glossy, ribbon-like consistency. Avoid adding too much water-you can always adjust later.
- Blender/Juicer: Work in small batches. Pulse rather than continuous blending to prevent overheating, which kills beneficial microbes. Let the motor rest between pulses.
- Food Processor: Not recommended due to uneven chopping and excessive heat generation.
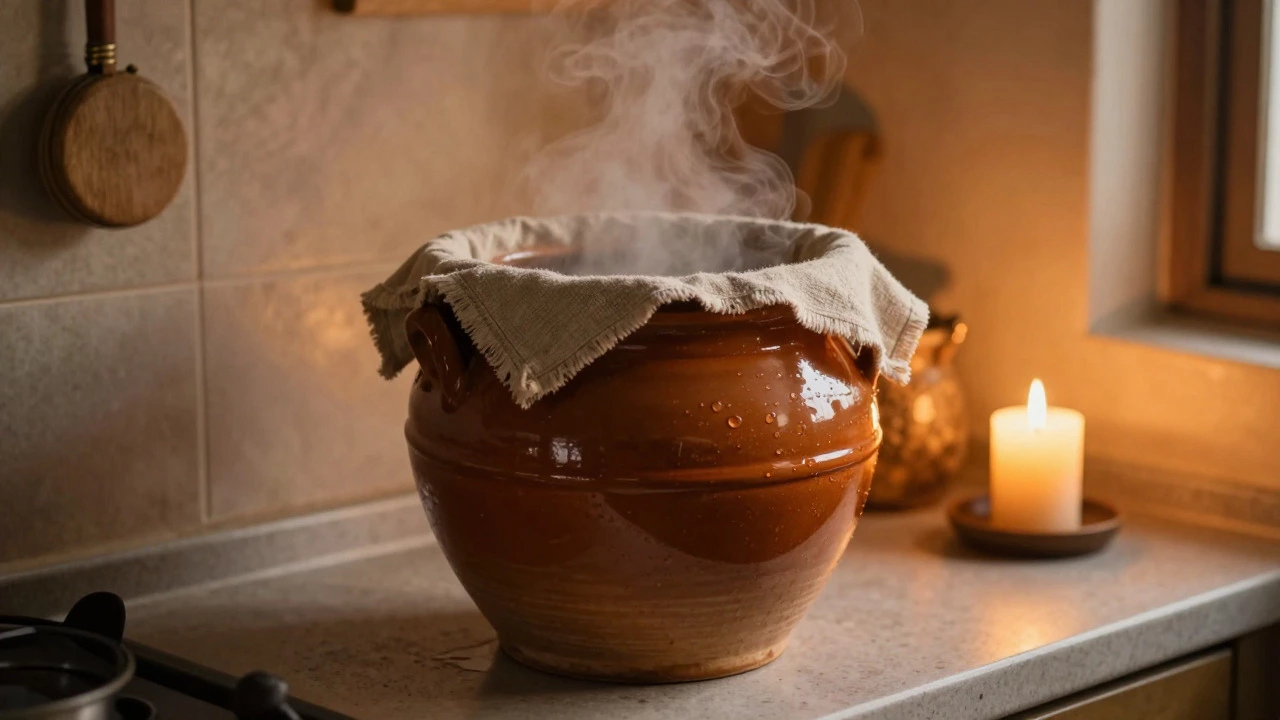
After grinding, let the batter rest covered for 6-8 hours in a warm place. During this time, watch for bubbles forming on the surface-a sign successful fermentation is underway. The batter should double in volume and have a slightly tangy smell.
Troubleshooting Common Issues
Even with perfect soaking times, things can go sideways. Here’s how to fix common problems:
- Batter too thick? Add splashes of water gradually while stirring. Don’t pour all at once.
- No rise after fermentation? Check if your kitchen was too cold. Move the container near an oven light or wrap it in a towel.
- Sour taste? Reduce next batch’s fermentation time or refrigerate immediately after grinding.
- Sticky batter? You likely added too much water during grinding. Next time, hold back on liquid until mixing stage.
Remember, practice makes perfect. Your first few attempts might not look magazine-worthy, but tweaking variables like soak time, water temp, and grinding speed will get you there.
Storage Tips for Leftover Batter
If you’ve got leftover fermented batter, store it in an airtight container in the refrigerator. It lasts up to 3 days. Before reheating, bring it to room temperature and give it a gentle stir. Note that stored batter won’t rise further, so expect denser dosas compared to freshly fermented ones.
For best results, freeze portions in ice cube trays. Thaw overnight in the fridge before use. While frozen-thawed batter works fine, it lacks the elasticity needed for ultra-thin crepes-better suited for thicker masala dosas instead.
Can I soak urad dal overnight?
Yes, but only in cooler climates. Overnight soaking (8-12 hours) risks over-hydration and early fermentation, leading to a sour taste. In warmer areas, limit soaking to 3-4 hours max.
Do I need to soak rice along with urad dal?
Absolutely. Both components must be soaked simultaneously for equal hydration. Uneven soaking leads to inconsistent textures in the final batter.
What happens if I skip soaking entirely?
Skipping soaking results in a gritty, unspreadable batter. The dal won’t break down properly, causing lumps and poor fermentation. Always soak!
Is salt added before or after fermentation?
Add salt just before cooking. Salt inhibits yeast activity, potentially stalling fermentation. Wait until the batter has risen fully.
How do I know when urad dal is properly soaked?
Test by crushing a grain between fingers. It should mash easily without resistance. Visually, soaked dal appears plump and opaque compared to dry, shiny grains.