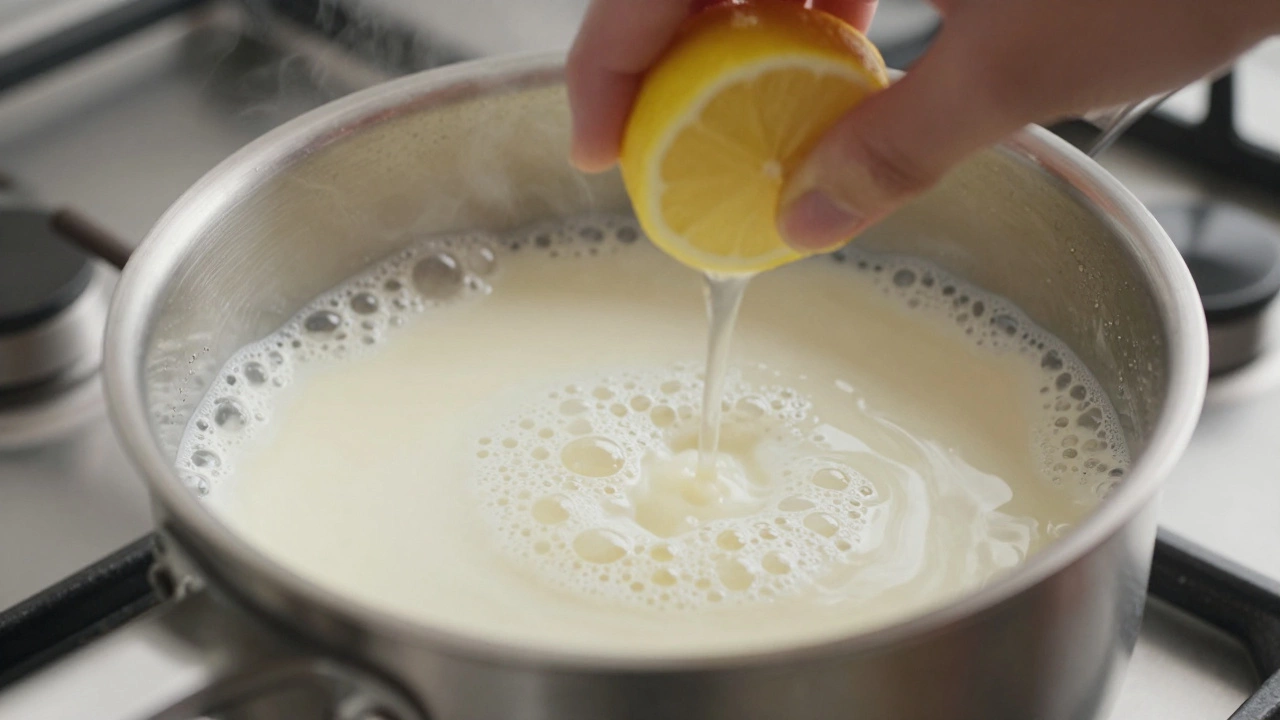
Interactive Paneer Troubleshooter
Current State: Liquid Milk
It’s frustrating. You’ve boiled the milk, added the lemon juice or vinegar, waited with bated breath, and... nothing happens. The milk just sits there, looking suspiciously like warm, slightly sour milk. No white curds. No whey separation. Just disappointment.
If you are trying to make paneer, a fresh Indian cheese that is essential for dishes like palak paneer and matar paneer, this failure is common. But it is almost always fixable. Paneer making is less about magic and more about chemistry. Specifically, it is about acidity and heat working together to separate casein proteins from the liquid whey.
When that process fails, it usually comes down to one of three things: your milk is too old, your acid isn't strong enough, or your temperature is off. Let’s walk through exactly why your batch failed and how to get perfect, spongy cubes next time.
The Milk Matters More Than You Think
The single biggest reason milk refuses to turn into paneer is the type of milk you are using. Not all milk behaves the same way when heated and acidified.
UHT (Ultra-High Temperature) Milk: This is the most common culprit. UHT milk has been heated to extremely high temperatures (around 135°C or 275°F) to extend its shelf life. This process alters the protein structure so drastically that it often will not coagulate properly with standard amounts of acid. If your carton says "Shelf Stable" or "No Refrigeration Required until opened," put it back on the shelf. It rarely works for paneer.
Pasteurized vs. Raw: Standard pasteurized milk works well, but raw milk can be tricky because its bacterial content varies. Some people swear by raw milk for creamier results, but for beginners, full-cream pasteurized milk is the safest bet.
Fat Content: Skim or low-fat milk will produce very little yield and dry, crumbly paneer. You need fat for texture. Always use full-cream (whole) milk. In New Zealand, where dairy is abundant, look for brands that list "Full Cream" clearly. The higher the fat content, the softer and richer your paneer will be.
Temperature: The Hot Zone
You might have the right milk, but if the temperature is wrong, the proteins won’t clump. The ideal temperature for adding acid is between 80°C and 90°C (176°F - 194°F). This is just below a rolling boil.
If the milk is too cool (below 70°C), the acid disperses without triggering coagulation. You’ll see bubbles, maybe some slight cloudiness, but no solid curds. If the milk is boiling violently, the agitation can sometimes break up forming curds, leading to a grainy texture rather than clean separation.
Pro Tip: Watch the edges of the pot. When small bubbles start forming around the rim and steam rises steadily, but the center isn’t churning over, you are in the sweet spot. Turn the heat down to low before adding your acid agent.
The Acid Agent: Lemon, Vinegar, or Yogurt?
To make paneer, you need an acid to lower the pH of the milk. This causes the casein micelles to destabilize and clump together. Here is how the common agents compare:
| Acid Type | Strength | Flavor Impact | Best For |
|---|---|---|---|
| Lemon Juice | Medium | Mild, fresh | Beginners; mild-tasting paneer |
| White Vinegar | High | Slight tang (dissipates after washing) | Reliable curdling; firm texture |
| Buttermilk/Yogurt | Low | None | Traditional methods; slower process |
If your milk didn't curdle, check your acid. Old lemon juice loses potency. If you are using bottled lemon juice, ensure it hasn't expired. White vinegar is often more reliable because its acidity level (usually 5% acetic acid) is consistent. Start with 2 tablespoons per liter of milk, then add more in teaspoons if needed. Do not dump it all in at once.
Old Milk vs. Fresh Milk
This sounds counterintuitive, but slightly old milk actually curdles better than ultra-fresh milk. Why? Because as milk ages, lactic acid bacteria naturally convert lactose into lactic acid, lowering the pH slightly. This pre-acidification helps the added lemon or vinegar work faster.
However, if the milk is too old-sour, chunky, or smelling bad-it will spoil the flavor of your paneer. The sweet spot is milk that is within 2-3 days of its expiry date. If your milk is brand new from the store yesterday, give it a day or two on the counter (if safe) or in the fridge to let it mature slightly, or simply use a bit more acid.
Step-by-Step Troubleshooting Guide
If you are staring at a pot of uncurled milk right now, don’t throw it away. Try these steps in order:
- Check the Heat: Bring the milk back to a gentle simmer (85°C). Ensure it is hot throughout, not just on the surface.
- Add More Acid: Add another tablespoon of lemon juice or vinegar. Stir gently once.
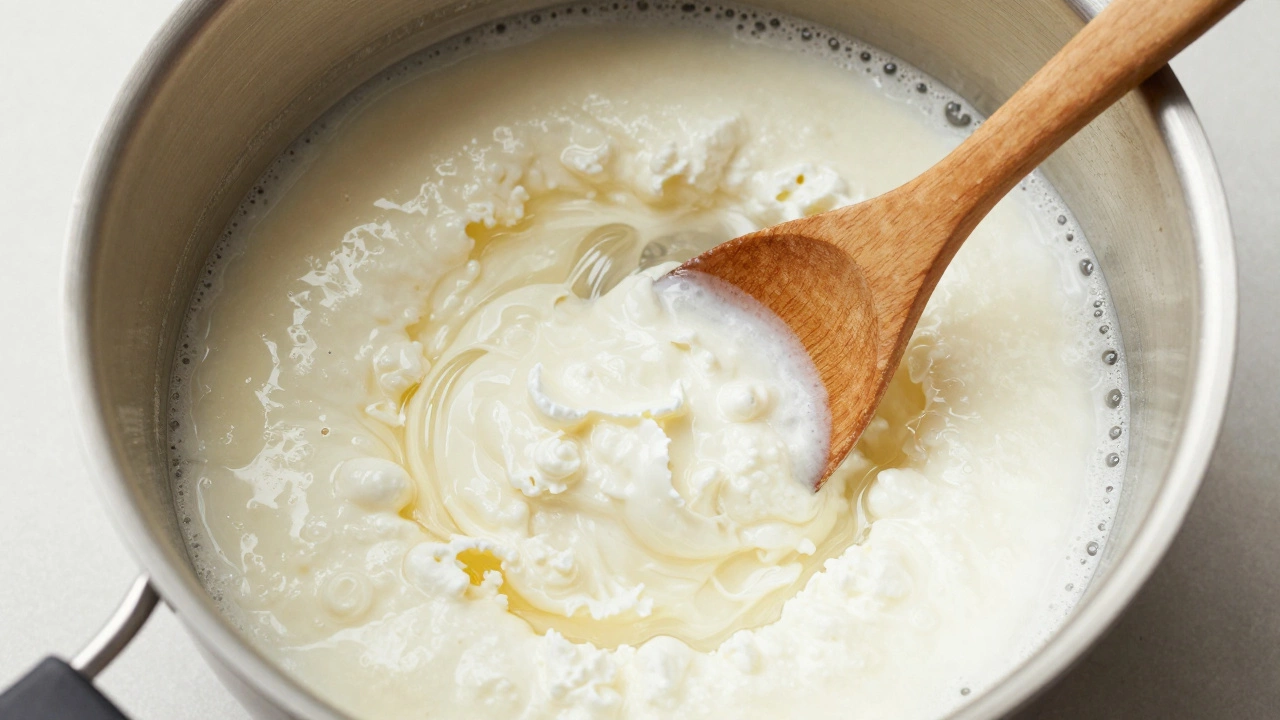
- Wait 2 Minutes: Sometimes the reaction is slow. Give it time. Look for the whey turning clear and yellowish, and white solids separating.
- The Salt Trick: If it still hasn't set, add a pinch of salt. Salt can help draw out moisture and encourage separation in stubborn batches.
- Strain Immediately: As soon as you see separation, stop cooking. Overcooking after curdling makes paneer hard and rubbery.
If none of this works, the milk was likely UHT or heavily processed. In that case, accept the loss and buy fresh full-cream milk for your next attempt. There is no workaround for chemically altered proteins.
Pressing and Storage: Don't Ruin It Now
Once you finally get those beautiful curds, the job isn't done. How you handle them determines whether your paneer is soft and spongy or dense and chalky.
Cooling: Rinse the curds under cold running water immediately. This stops the cooking process and washes away any residual acid taste. This step is crucial for neutralizing the flavor.
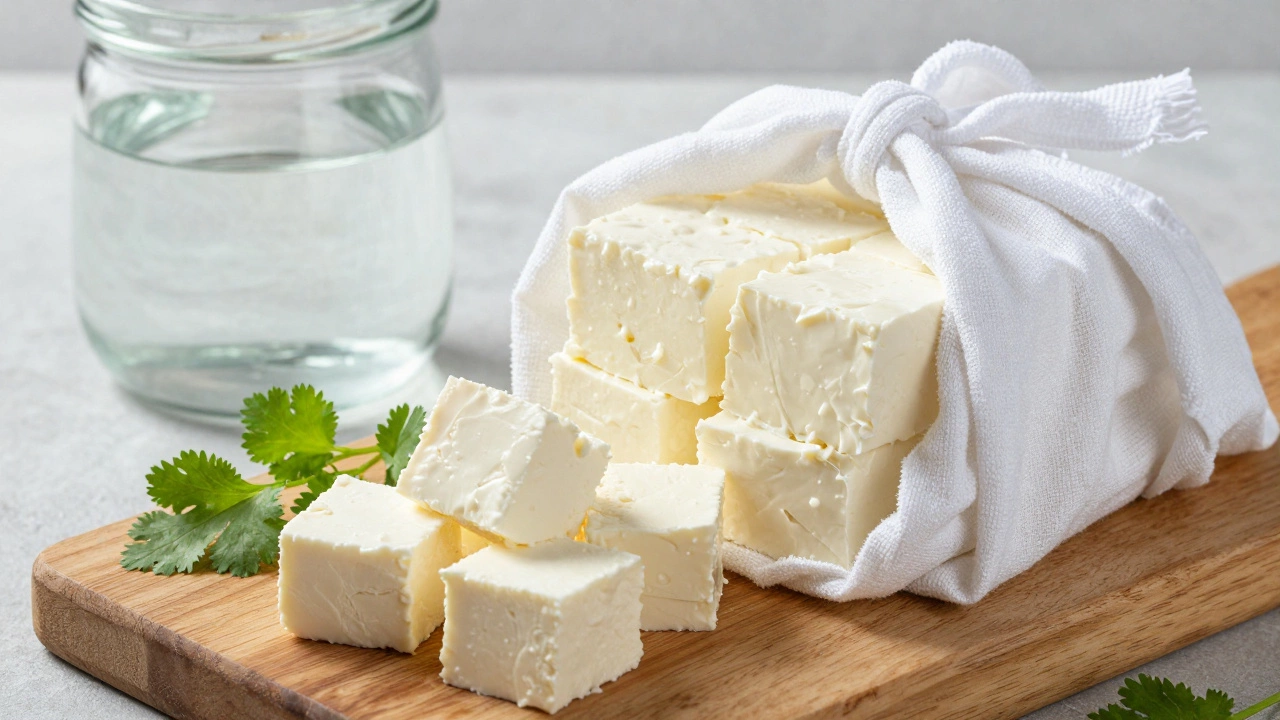
Pressing: Place the wet curds in a cheesecloth or a clean cotton muslin cloth. Gather the corners and tie them tightly. Hang the bundle over a bowl for 30 minutes for soft paneer, or place a heavy weight (like a pot of water) on top for 1-2 hours for firmer slices. Do not press for more than 4 hours, or the paneer will become too hard to cook with.
Storage: Store homemade paneer submerged in cold water in an airtight container in the fridge. Change the water daily. It stays fresh for up to 5 days. For longer storage, freeze it in blocks. Thaw overnight in the fridge before cooking.
Common Mistakes to Avoid
- Stirring Too Vigorously: After adding acid, stir gently once or twice. Aggressive stirring breaks the curds into tiny grains, resulting in a sandy texture instead of smooth sheets.
- Using Aluminum Pots: Acid reacts with aluminum, which can give your paneer a metallic taste and discolor the pot. Use stainless steel or non-stick pans.
- Skipping the Rest Time: Adding acid and expecting instant results leads to under-coagulated milk. Wait for the whey to fully separate.
- Using Low-Fat Milk: As mentioned, skim milk yields poor results. Stick to full cream.
FAQ: Quick Answers to Paneer Problems
Can I use almond milk or soy milk to make paneer?
No. Plant-based milks lack the casein proteins found in cow's milk that coagulate to form paneer. You can make tofu from soy milk, but you cannot make traditional paneer from plant milks.
Why is my paneer rubbery and hard?
Rubbery paneer usually means you pressed it for too long or used too much heat during the curdling stage. Reduce pressing time to 1 hour max and ensure you rinse the curds with cold water immediately after straining.
How much lemon juice do I need for 1 liter of milk?
Start with 2-3 tablespoons of fresh lemon juice. Add it gradually while stirring gently. If the milk doesn't curdle, add more in teaspoon increments. The exact amount depends on the freshness of the milk and the strength of the lemons.
Can I make paneer in an Instant Pot?
Yes, but use the "Sauté" function, not the pressure cook setting. Pressure cooking does not allow you to monitor the subtle signs of curdling. Keep the lid open, bring milk to a simmer, add acid, and watch closely.
Is it normal for paneer to shrink after cooking?
Yes, slight shrinkage is normal due to moisture loss. To prevent excessive shrinking, soak paneer cubes in warm water for 10 minutes before adding them to your curry. This keeps them soft and prevents them from absorbing too much sauce.