Interactive Paneer Making Guide
Follow the steps below or use the calculator to determine your specific requirements based on milk volume and desired texture.
Step-by-Step Process
Heat the Milk
Bring full-fat whole milk to a gentle boil over medium-high heat. Stir occasionally to prevent scorching. Do not let it bubble vigorously.
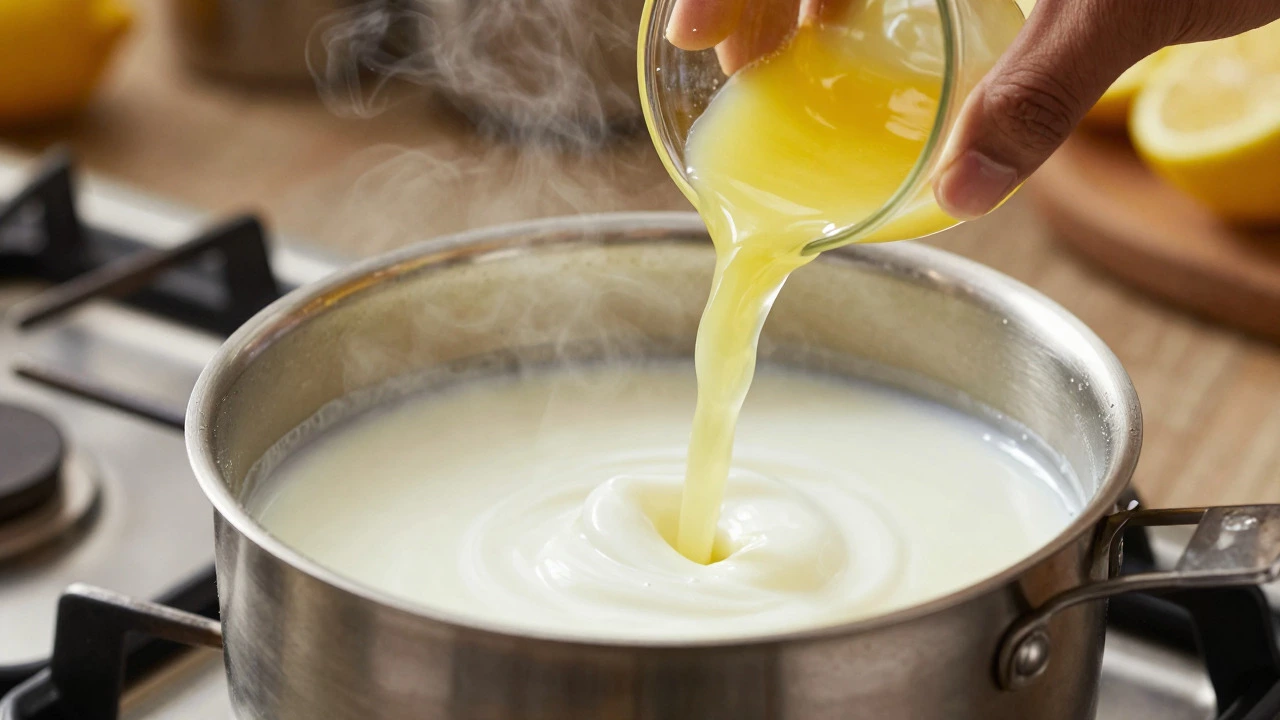
Add the Acid
Reduce heat to low. Add your chosen acid (e.g., 1 tbsp lemon juice per liter). Stir gently for about 30 seconds.
Observe Separation
Wait for white curds to form and liquid to turn yellowish-green (whey). This usually takes a few minutes.
Strain Immediately
Pour through a muslin cloth/cheesecloth lined colander. Let it drain naturally for 5-10 minutes without pressing yet.
Press & Chill
Twist cloth to remove excess moisture. Weigh down with a heavy object. Press for 15 mins (soft) to 2 hours (firm). Chill for 30 mins before cutting.
Acid & Time Calculator
Your Paneer Recipe Specs
Tip: Remember to chill for 30 minutes after pressing before cutting.
Quick Reference: Acid Comparison
| Acid Type | Flavor Profile | Texture Impact | Best Use Case |
|---|---|---|---|
| Lemon Juice | Bright, tangy | Firm, crisp edges | Spicy curries |
| White Vinegar | Mild, sharp | Medium firmness | Quick batches |
| Citric Acid | Neutral, pure dairy | Soft, melt-in-mouth | Desserts |
| Buttermilk | Tangy, fermented | Very soft, crumbly | Kadai preparations |
Ever stared at a block of store-bought paneer is a fresh, non-melting cheese made by curdling hot milk with an acidic agent and pressing the resulting solids into a firm block. It has no aging process, unlike Western cheeses, which means it holds its shape in high-heat cooking but can be crumbly if not handled right. You might wonder why your kitchen attempts result in something too soft or too dry. The answer lies in understanding the specific chemical reaction that separates the protein from the liquid.
The Science Behind the Separation
To make paneer, you aren't just mixing ingredients; you are triggering a precise biological change. Milk contains two main proteins: casein and whey protein. In raw milk, these proteins float freely in a stable suspension. When you heat the milk and add an acid, you disrupt this balance. This process is known as acid coagulation, a method where acidity lowers the pH of the milk until the casein proteins clump together into solid curds, leaving the liquid whey behind.
The key here is the pH level. Neutral milk sits around a pH of 6.7. To form proper paneer curds, you need to drop that number to approximately 4.6. At this point, the electric charge on the casein micelles neutralizes, causing them to stick together. If the pH drops too low, the texture becomes grainy and sour. If it doesn't drop enough, the curds remain loose and watery. This is why timing and temperature matter more than just adding lemon juice randomly.
Choosing Your Acidic Agent
You have several options for the acid, each affecting the final taste and texture differently. The most common household choice is lemon juice. It provides a sharp, bright tang that pairs well with spicy curries. However, it can sometimes leave a slightly bitter aftertaste if used in excess. For a milder flavor profile, many cooks prefer white vinegar. It works similarly but requires careful dilution because it is more concentrated than citrus juice.
If you want the traditional, subtle taste found in North Indian restaurants, look for citric acid powder. It is odorless and flavorless, meaning the only taste you get is pure dairy. Another option is buttermilk (chaas), which adds a fermented depth. Each acid interacts with the milk proteins slightly differently, so experimenting with small batches helps you find your preferred balance between tartness and creaminess.
Step-by-Step: The Curdling Process
Here is exactly how the separation happens in practice. Start by pouring full-fat whole milk into a heavy-bottomed pot. Full fat is crucial because the fat globules get trapped within the protein network, giving paneer its rich mouthfeel. Low-fat milk will yield a dry, crumbly product that falls apart easily.
- Heat the milk: Bring the milk to a gentle boil over medium-high heat. Stir occasionally to prevent scorching. Do not let it bubble vigorously, as this can break down the proteins before they set.
- Add the acid: Once boiling, reduce the heat to low. Add your chosen acid (e.g., 1 tablespoon of lemon juice per liter of milk). Stir gently for about 30 seconds.
- Observe the separation: Within minutes, you will see large white curds forming and the liquid turning yellowish-green. This liquid is whey, which is rich in lactose and albumin. The solids are the curds.
- Strain immediately: Line a colander with a clean muslin cloth or cheesecloth. Pour the mixture through. Do not press yet. Let it drain naturally for 5-10 minutes.
This initial draining step is critical. Rushing it forces water out too quickly, leading to a dense, rubbery texture. Patience here ensures a tender crumb structure.
Pressing: Shaping the Final Product
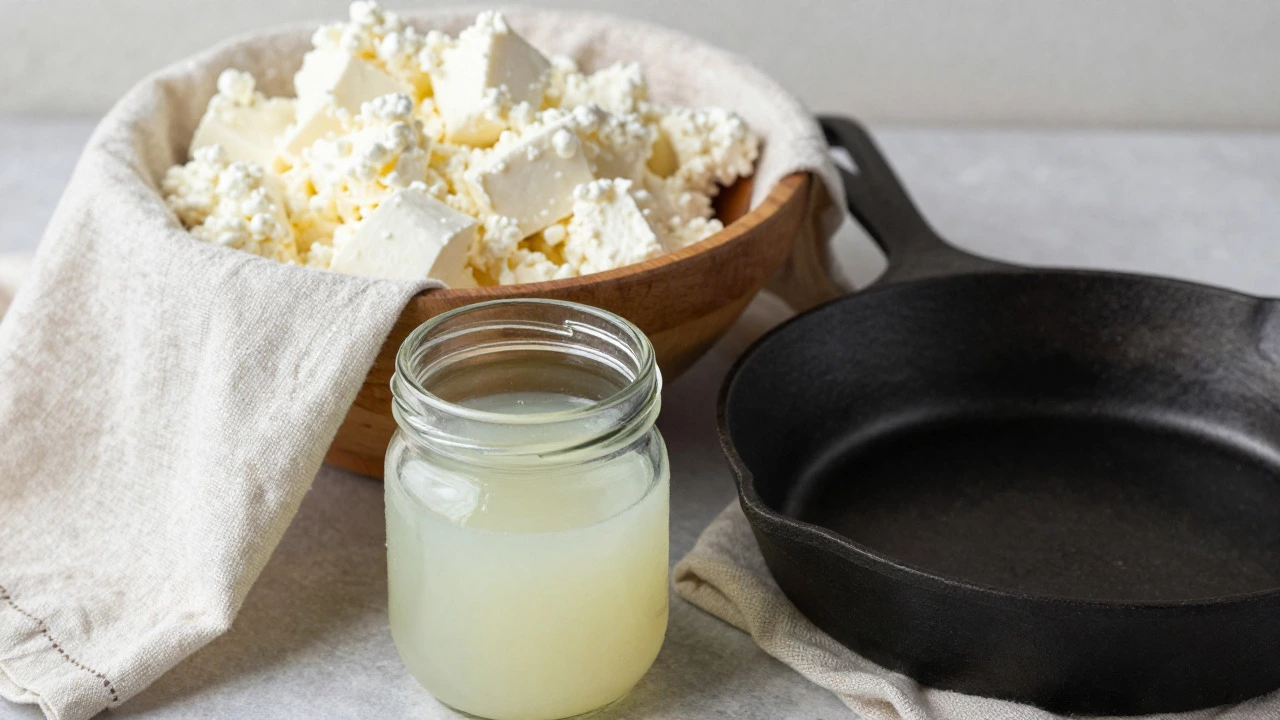
Once drained, gather the corners of the cloth and twist tightly to remove excess moisture. Now comes the shaping phase. Place the bundle on a flat plate. Weigh it down with a heavy object like a brick wrapped in plastic, a cast iron skillet, or a dedicated cheese press. The weight forces the remaining whey out, binding the protein strands together into a cohesive block.
The duration of pressing determines the hardness. For soft paneer, press for 15-20 minutes. For firm paneer suitable for grilling or frying, press for 1-2 hours. Refrigerate the pressed block for at least 30 minutes before cutting. This chilling step firms up the fat crystals, making it much easier to slice without crumbling. If you skip the chill, the warm paneer will be too pliable and may tear when you try to dice it.
Common Mistakes and How to Fix Them
Even experienced home cooks run into issues. Here are the most frequent problems and their solutions.
- Gritty Texture: This usually happens if the milk was boiled too hard before adding acid, or if the acid was added while the milk was off the heat. Keep the milk simmering, not roaring, when introducing the acid.
- Too Soft/Crumbly: You likely didn't press long enough or used low-fat milk. Next time, increase the pressing time and ensure you are using full-cream milk.
- Sour Taste: Too much acid was used. Start with less than you think you need. You can always add more, but you can't take it away. A good rule of thumb is 1-2 teaspoons of citric acid or 1 tablespoon of lemon juice per liter of milk.
Storage and Shelf Life
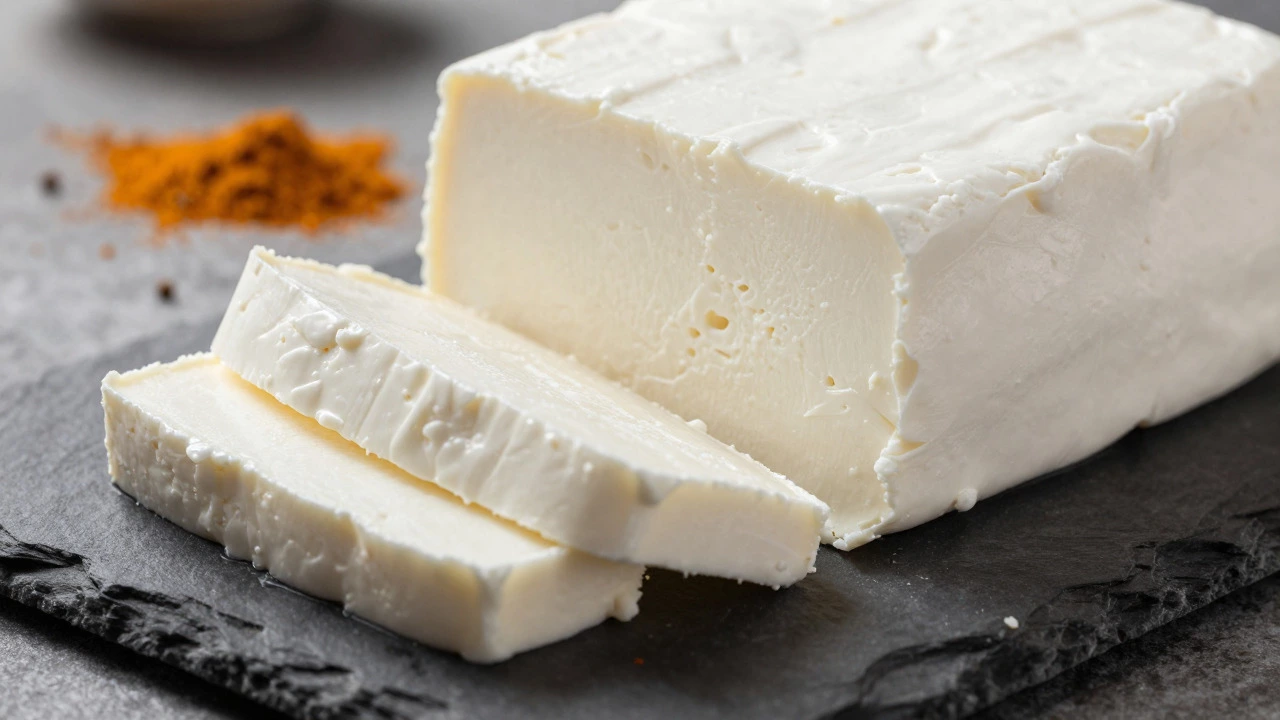
Freshly made paneer is delicate. Because it has no preservatives or salt cure, it spoils faster than commercial varieties. Store it in an airtight container in the refrigerator. To keep it moist, place a damp paper towel inside the container. Properly stored, homemade paneer lasts for 3-5 days. If you need longer storage, blanch the cubes in boiling water for 30 seconds, cool them in ice water, and freeze them. Frozen paneer thaws well and retains its texture for up to 3 months, though it may become slightly drier upon thawing.
Why Full-Fat Milk Matters
You might be tempted to use semi-skimmed milk to save calories, but it’s a trade-off worth avoiding. The fat content in milk acts as a lubricant between the protein strands. Without sufficient fat, the casein network becomes brittle. When you cook with lean paneer, it tends to shatter under heat rather than holding its shape. Full-fat milk also contributes to the creamy aroma that defines quality paneer. The difference in caloric density is minimal compared to the drastic improvement in texture and flavor retention during cooking.
| Acid Type | Flavor Profile | Texture Impact | Best Use Case |
|---|---|---|---|
| Lemon Juice | Bright, tangy, slight bitterness | Firm, crisp edges | Spicy curries, stir-fries |
| White Vinegar | Mild, sharp, acetic | Medium firmness | Quick batch preparation |
| Citric Acid Powder | Neutral, pure dairy taste | Soft, melt-in-mouth | Desserts, mild gravies |
| Buttermilk | Tangy, fermented, complex | Very soft, crumbly | Kadai preparations, immediate use |
Frequently Asked Questions
Can I use yogurt instead of lemon juice to make paneer?
Yes, you can use plain yogurt or buttermilk. Yogurt contains lactic acid, which coagulates the milk proteins effectively. However, the resulting paneer will have a distinct tangy flavor and a softer texture compared to lemon or citric acid versions. It is best used in dishes where the extra tang complements the spices, such as paneer tikka masala.
What happens if I don't rinse the paneer after straining?
If you skip rinsing, residual acid remains in the curds. This can lead to a sharper, more sour taste in the final product. Rinsing the curds under cold water for 30 seconds neutralizes the surface acid and stops the coagulation process, ensuring a milder flavor. It also helps wash away any fine particles that might affect the texture.
Is paneer gluten-free and vegan?
Traditional paneer is gluten-free because it contains only milk and acid. However, it is not vegan because it is made from animal milk. For a vegan alternative, you can use soy milk or almond milk with calcium chloride or citric acid, though the texture will be denser and less elastic than dairy-based paneer.
Why does my homemade paneer fall apart when I fry it?
This usually indicates insufficient pressing or using low-fat milk. The protein network needs to be tight to withstand oil temperatures. Ensure you press the curds under weight for at least 30 minutes and use full-fat milk. Additionally, letting the paneer chill in the fridge before cutting helps firm up the structure, preventing it from disintegrating in the pan.
Can I reuse the whey left over from making paneer?
Absolutely. Whey is nutritious and flavorful. You can drink it straight, add it to smoothies, use it as a base for soups, or even ferment it into kefir. It is rich in lactose and proteins that were not captured in the curds. Strain it through a fine mesh sieve to remove any tiny curd bits before storing it in the fridge for up to 3 days.