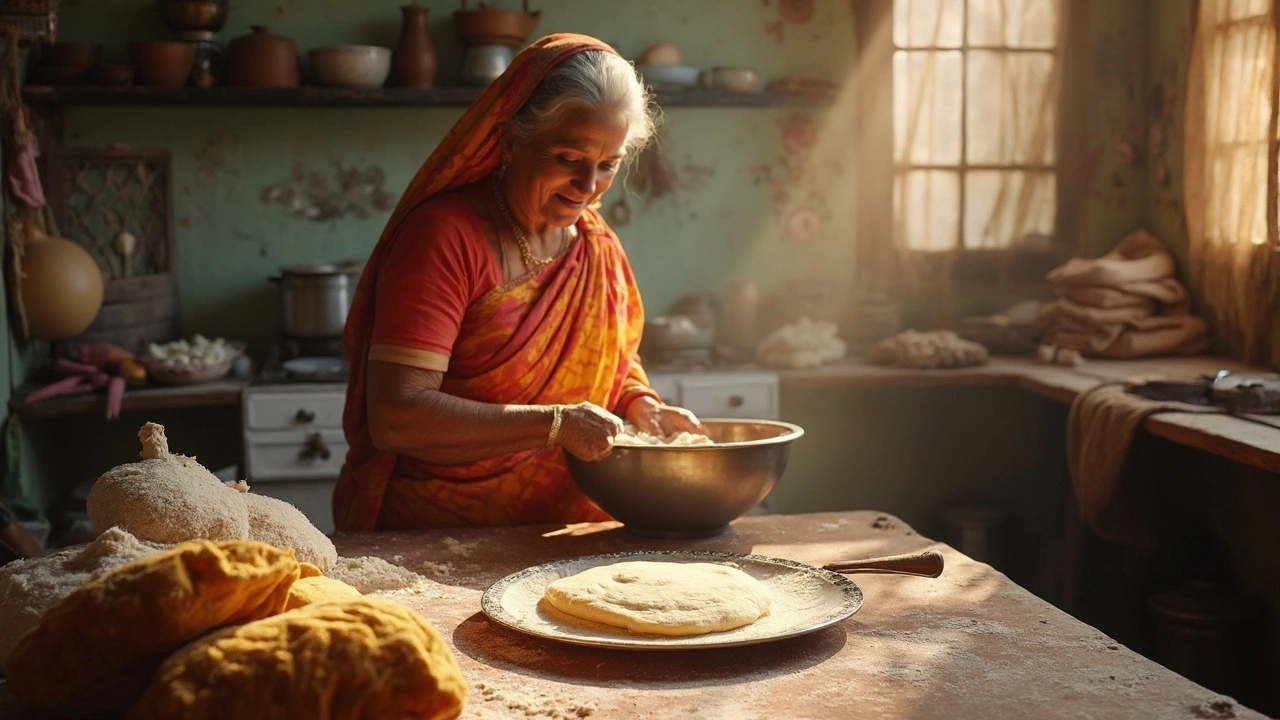
You’ve probably tasted chapatis that feel like clouds—soft, warm, and just the right amount of chewy. Then there’s the other side: dry, stiff rotis that need a serious dip to even go down. If you’ve been stuck with those, you’re not alone.
The first thing to know? Softness isn’t about fancy flours or secret family recipes. It comes down to simple science, everyday kitchen moves, and a few tweaks that make a huge difference. Plenty of folks use the same atta (whole wheat flour) for years, but one small change—like a little extra kneading or a splash more water—completely changes the game.
Forget the myths about adding milk or baking soda. The basics right in your own kitchen will do the heavy lifting. Rolling your chapatis too thin or skipping the resting step? That’s usually why things go wrong. Most people don’t realize how big an impact short steps—like covering the dough and not rushing—can have on the final roti.
- Flour Choice: Why It Matters
- Kneading: The Game-Changer Step
- Water and Consistency
- Resting: The Overlooked Secret
- Rolling and Cooking Techniques
- Troubleshooting Tough Chapatis
Flour Choice: Why It Matters
Walk into any Indian grocery and you’ll see piles of “atta” flour. But not all atta is the same. That one bag you pick can make or break your soft chapatis. The main thing you want is stone-ground whole wheat flour. It has the right amount of bran and wheat germ—what gives rotis a soft bite and keeps them from turning rubbery after a few hours.
Here’s what people don’t always realize: Protein content matters. Atta from India usually has a bit less gluten than regular bread flour (like what you’d grab in the States or UK). Less gluten means softer, more bendy chapatis. If you use Western whole wheat flour, rotis turn out denser and not as soft.
Stick to these basic points when choosing your flour:
- Pick atta labeled specifically as “roti atta” or “chapati atta.” Don’t get sidetracked by fancy bread mixes.
- Fresher is better. Check the date. Old flour sucks up more water and gives you tough dough.
- Read the ingredients. Good atta has only whole wheat—no malted barley, no added bran, no weird stuff.
If you’re stuck with Western whole wheat flour, sift it a couple of times and take out some of the bran. You’ll never match real atta exactly, but it’ll soften things up.
Choosing the right flour is step one. Even with the best kneading in the world, the wrong kind of wheat will kill your chances of that perfect, soft chapati. Nail the flour and you’re already halfway there.
Kneading: The Game-Changer Step
Kneading really is where you either nail soft chapatis or end up with dry, stiff ones. It’s not just about mixing flour and water—there’s an actual science here. When you knead well, you get the gluten working, and that’s exactly what makes the dough stretchy and, down the line, your chapatis soft.
If you rush kneading, expect chapatis that are tough or crumbly. When you take the extra few minutes to knead until the dough is smooth and springy, you’ve set yourself up for that airy, pillowy texture. Consistency matters too—aim for dough that’s neither too sticky nor too dry. If it sticks a lot, add a sprinkle of flour. If it cracks, add a few drops of water and keep kneading.
Here's a super straightforward way to nail kneading every time:
- Start with 2 cups of whole wheat flour in a mixing bowl.
- Gradually add 3/4 cup water while mixing with your fingers or a spoon.
- Mix until you get a shaggy, lumpy dough.
- Set aside the spoon and use your hand to press and knead the dough. Push with your knuckles, then fold. Keep going for 8–10 minutes.
- If the dough gets sticky, dust with a sprinkle of flour. If it’s cracking, use a wet hand to work in more moisture.
- You want the dough soft, smooth, and springy—not stiff.
Kneading times can make a real difference. Here’s a quick look at how kneading time affects the final soft chapatis, based on common kitchen results:
| Kneading Time | Dough Texture | Chapati Softness |
|---|---|---|
| 3 min | Lumpy, uneven | Dry, won’t puff up |
| 6 min | Starting to smooth out | Somewhat soft, but still chewy |
| 10 min | Smooth, elastic | Super soft, puffs well |
You don’t need a fancy stand mixer for this—your hands do the best job. After you’ve kneaded well, cover the dough and let it rest. This extra step (which we’ll get to in another section) also helps, but honestly, if you want that soft chapatis magic, the work really gets done during the kneading.
Water and Consistency
If you want soft chapatis, nailing the right amount of water in your dough is a must. Not enough, and the dough cracks. Too much, and it turns sticky and impossible to roll. The sweet spot? For every 2 cups (about 250g) of whole wheat flour, start with around 3/4 cup (180ml) of water. But keep in mind—this is just a starting point. Some brands of flour soak up more water than others, so always add slowly and use your hands to judge.
Here’s a trick: always mix the flour and water gradually. Don’t dump the whole thing in. That way, you can stop just when the dough comes together, feeling smooth but not sticky. If your dough sticks to your hands, sprinkle a little bit more flour until it’s manageable.
"Getting the water right is the difference between chapatis that puff up and ones that resemble frisbees. The dough should feel soft, almost like a baby's cheek when pressed." – Chef Ranveer Brar, Indian culinary expert
An extra tip—the temperature of your water matters. Lukewarm water helps gluten form, giving elasticity and softness. Avoid ice-cold water; it slows things down and makes stiff dough.
Check out how water ratios compare in common Indian households:
| Flour (g) | Water (ml) | Result |
|---|---|---|
| 250g | 150ml | Dry, cracks while rolling |
| 250g | 180ml | Soft, easy to roll |
| 250g | 220ml | Sticky, tough to shape |
If you walk away with one thing, let it be this: good chapati dough feels soft and slightly bouncy, not dry or gloopy. Don’t rush mixing the water in—give the flour time to absorb it all. That’s how you get crazy-soft chapatis, every single time.
Resting: The Overlooked Secret
Resting the dough is where most people slip up when aiming for those soft chapatis. It’s easy to get impatient and start rolling right away, but skipping this step can ruin all your effort. When you let your dough sit, the gluten relaxes, and the water spreads evenly throughout, making the dough smooth and easy to roll. This is what turns chapati from chewy and stiff to soft and puffy.
The magic number for resting time? Simple: 20 to 30 minutes. Some home cooks stretch it to 45 minutes, but at least 20 will make a big difference even on busy days. Cover your dough with a plate, lid, or even a damp towel. Otherwise, the top dries out, making it tough to work with later.
| Resting Time | Result |
|---|---|
| 0-5 min | Dry, tough chapatis |
| 10-15 min | Slightly softer but still a bit chewy |
| 20-30 min | Noticeably soft, easy to roll, fluffy upon cooking |
| 45+ min | Super soft (just make sure it doesn’t get sticky) |
Some folks even rest dough in the fridge if they’re working ahead, but remember to let it come to room temperature before rolling. Cold dough is stiff and cracks more easily. If you’re prepping in advance, a touch of oil spread over the dough ball keeps it from drying out.
Quick tip: If you’re making chapatis every day, try mixing your dough in the morning and letting it rest until lunch or dinner. The difference is huge. That extra time equals softer, tastier chapatis without any extra steps.
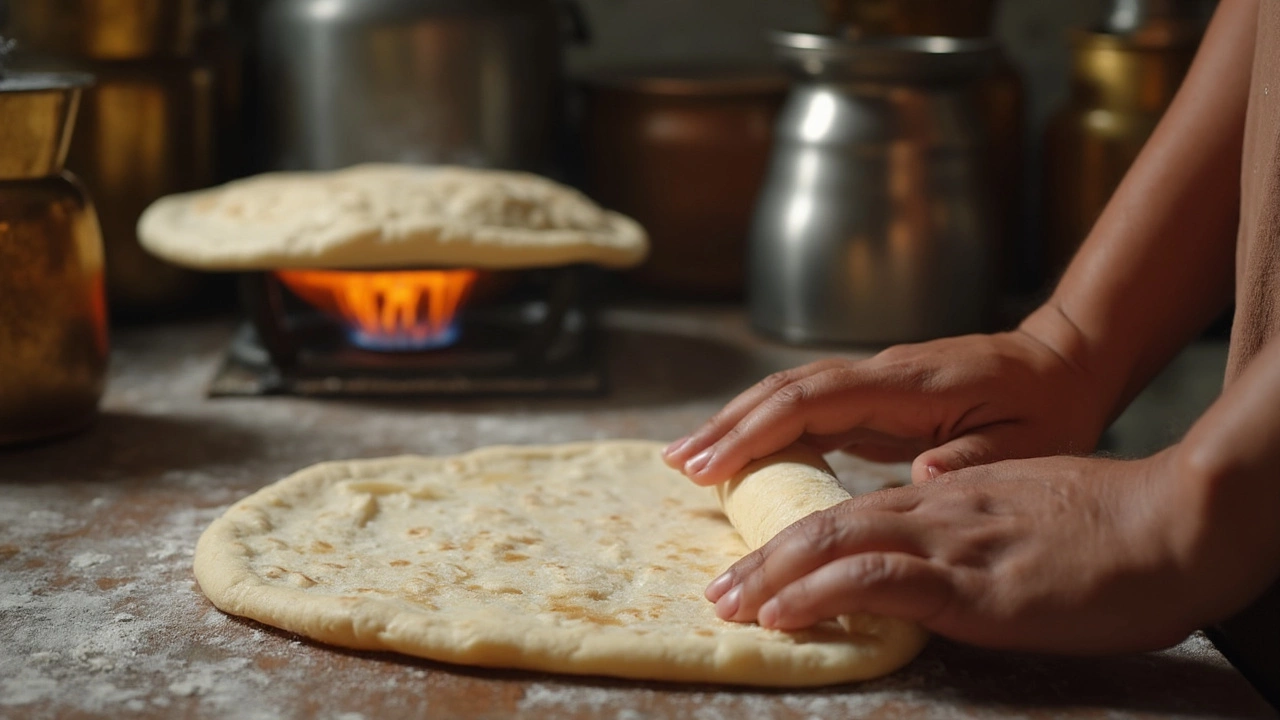
Rolling and Cooking Techniques
The way you roll and cook your chapatis can make or break all that hard work kneading and resting the dough. Even if you did everything else right, messing up at this stage means you’ll miss out on super-soft chapatis.
Let’s talk rolling. Don’t go crazy with the rolling pin. You want to roll the dough into even circles, but not flatten it to paper-thin. If it’s too thin, it’ll turn crisp. If it’s too thick, it won’t cook evenly. Notice small cracks at the edges? That usually means the dough needs more moisture or better kneading.
Here’s a trick: dust the rolling surface with just a hint of dry flour, but don’t overdo it. Too much dry flour dries out the roti and makes it feel hard. When you roll, turn the dough a little after every pass with the pin, so you get a nice circle and uniform thickness, about the width of a nickel.
Now, pay attention to the cooking part. Heat up your tawa (griddle) until it’s really hot before placing the chapati. If you start with a lukewarm pan, the chapati just sits there and turns tough. Place the rolled chapati on the tawa and let it cook until small bubbles form. Flip it, then wait for bigger bubbles on side two. That’s your cue for the last flip—give it a gentle press with a cloth or spatula, and watch it puff up.
- Do not use oil or butter first—cook it dry and only spread ghee or butter after it comes off the tawa.
- Never stack uncooked chapatis; always keep them covered in a cloth right after cooking so steam makes them extra soft.
- If your chapati doesn’t puff, it’s usually because of uneven rolling or low heat.
This step is where you finally unlock the classic soft chapatis everyone talks about. Once you nail the rolling and cooking moves, you’re set to impress anyone with your roti skills.
Troubleshooting Tough Chapatis
When your chapatis turn out tough, it’s usually because of one (or more) small mistakes. It doesn’t mean you need to throw out your dough, but a few simple fixes can get you back on track. Here’s what to double check if your soft chapatis end up stiff instead.
- Not enough water: Dough that’s too dry leads to hard rotis. Make sure your dough feels soft and a bit sticky after kneading. Most people use about 1 cup of water for 2 cups of whole wheat flour, but if your flour is older or weather is dry, you might need more.
- Under-kneading: Roti dough needs attention—about 8-10 minutes of solid kneading. It should look smooth and bounce back slightly if you poke it.
- Skipping the rest: The resting step softens gluten strands, making the dough easier to roll and roti more tender. Cover your dough and let it sit at least 20-30 minutes.
- Rolling too thin: Paper-thin chapatis end up crispy, not soft. Aim for a thickness somewhere between a nickel and a quarter.
- Pan too cold or too hot: If the pan isn’t hot enough, chapatis dry out. If it’s too hot, they burn outside before cooking inside. Medium-high works best—about 190°C or 375°F if you want to get precise.
Here’s a quick breakdown of common chapati mistakes and how to fix them:
| Issue | Likely Cause | Quick Fix |
|---|---|---|
| Cracks at the edges | Dough too dry | Add a splash of water, knead again |
| Chapatis not puffing up | Cold tawa or uneven rolling | Heat the pan properly, roll evenly |
| Hard, rubbery texture | Under-kneaded or not rested | Knead longer, rest dough |
| Dry surface spots | Overcooked or low-moisture dough | Reduce cooking time, use fresher dough |
| Stays raw inside | Pan too hot, thick chapatis | Lower heat, roll a bit thinner |
Try making notes as you experiment. Everyone’s kitchen is a bit different. Your flour, water, and pan can change everything. But once you figure out what works for your setup, you’ll turn out soft chapatis every single time—without stress.
