Homemade vs. Store-Bought Paneer Calculator
Input Your Costs
Analysis Result
Verdict:
Making paneer at home is significantly cheaper. If you cook Indian food regularly, the financial savings and superior texture quality easily justify the time investment.
You’ve probably stood in the dairy aisle, staring at a block of paneer, wondering if it’s worth the hassle of making it yourself. Store-bought paneer is convenient, sure. But it often comes with a price tag that feels steep for what is essentially curdled milk. Plus, there’s the texture issue-store-bought versions can sometimes be rubbery or dry, especially if they’ve been sitting on the shelf too long.
Making paneer, the fresh Indian cottage cheese at home sounds simple: boil milk, add acid, strain, press. But does the result justify the time, the mess, and the energy cost? The short answer is yes, but only if you value freshness, control over ingredients, and superior texture. If you’re looking for convenience above all else, the store-bought option still has its place. Let’s break down the real costs, benefits, and pitfalls so you can decide where you stand.
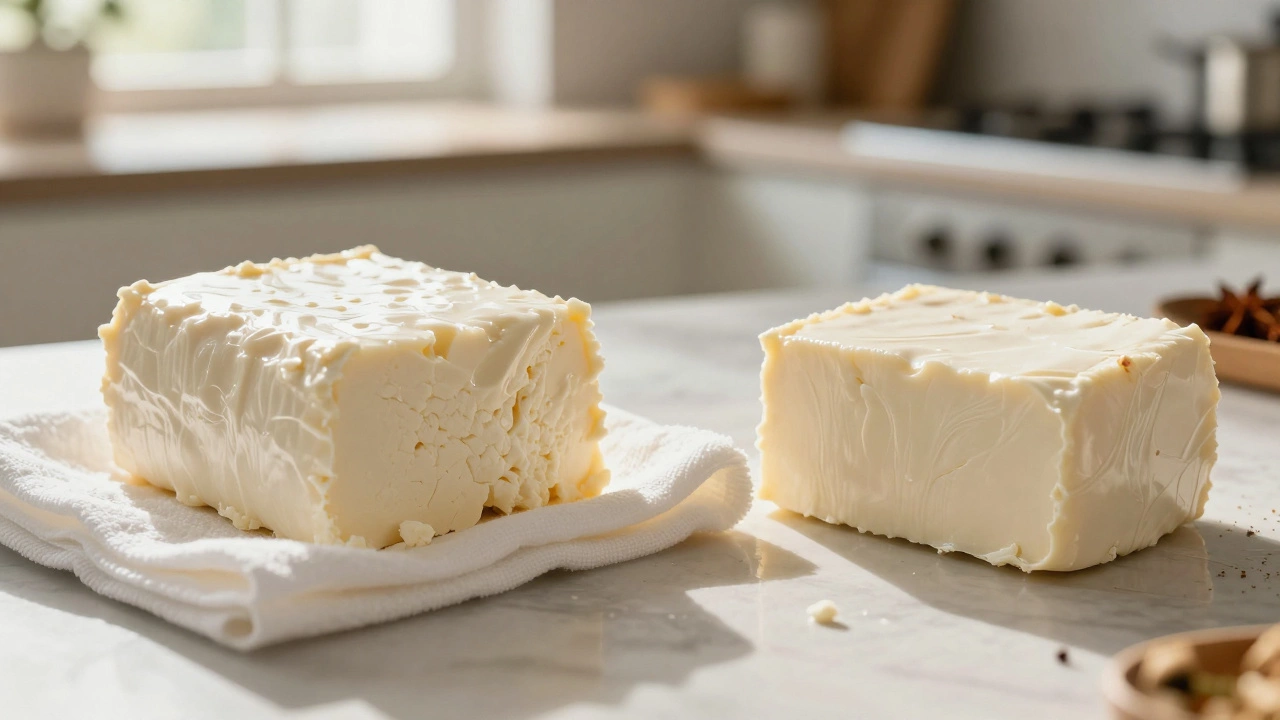
The Texture and Taste Gap
The biggest argument for making paneer at home isn’t just about saving money; it’s about quality. Freshly made Indian cottage cheese has a distinctively soft, crumbly, and moist texture. It melts slightly when cooked, which is crucial for dishes like Palak Paneer or Paneer Butter Masala. Store-bought paneer, particularly mass-produced brands, often contains stabilizers or preservatives to extend shelf life. These additives can make the cheese firmer and less responsive to heat, resulting in a chewier, less pleasant mouthfeel.
When you make paneer at home, you control the fat content of the milk. Using full-fat whole milk ensures your cheese is rich and creamy. Many commercial brands use standardized milk blends that might lack this depth of flavor. The taste difference is subtle but noticeable, especially in mild preparations where the paneer is the star, such as in Kadhi Pakora or simply served with chutney.
The True Cost: Money vs. Time
Let’s talk numbers. A standard 200-gram pack of store-bought paneer typically costs between $3 and $5, depending on your location and brand. To make 200 grams of paneer at home, you need approximately 1 liter (about 4 cups) of whole milk. In many regions, a liter of whole milk costs around $1.20 to $1.50. You also need an acidifying agent-usually lemon juice or white vinegar-which costs pennies per batch. So, purely from a financial standpoint, homemade paneer is roughly 60-70% cheaper than buying it pre-made.
However, money isn’t the only currency. Time matters. Making paneer takes about 30 to 45 minutes, including boiling the milk, curdling, straining, and pressing. During that time, you’re actively monitoring the pot to prevent scorching. For a busy weeknight, that’s a significant investment. If you’re cooking for one or two people, the effort might not seem worth it. But if you’re feeding a family or meal-prepping for the week, the savings add up quickly.
| Factor | Homemade Paneer | Store-Bought Paneer |
|---|---|---|
| Cost per 200g | $1.50 - $2.00 | $3.00 - $5.00 |
| Preparation Time | 30-45 minutes | 0 minutes (just buy) |
| Freshness | Peak freshness (made same day) | Varies (can be days old) |
| Texture Control | High (adjust pressure/time) | Low (fixed by manufacturer) |
| Ingredients | Milk + Acid (no additives) | Milk + Preservatives/Stabilizers |
| Shelf Life | 3-5 days in fridge | Up to 2 weeks (unopened) |
The Process: Simpler Than You Think
If you’re hesitant because you think making paneer requires special equipment or complex chemistry, let me reassure you: it’s surprisingly straightforward. All you need is a heavy-bottomed pot, a cheesecloth or clean cotton cloth, and a colander. The science behind it is basic: acid lowers the pH of the milk, causing the proteins (casein) to coagulate and separate from the liquid (whey).
Here’s the general workflow:
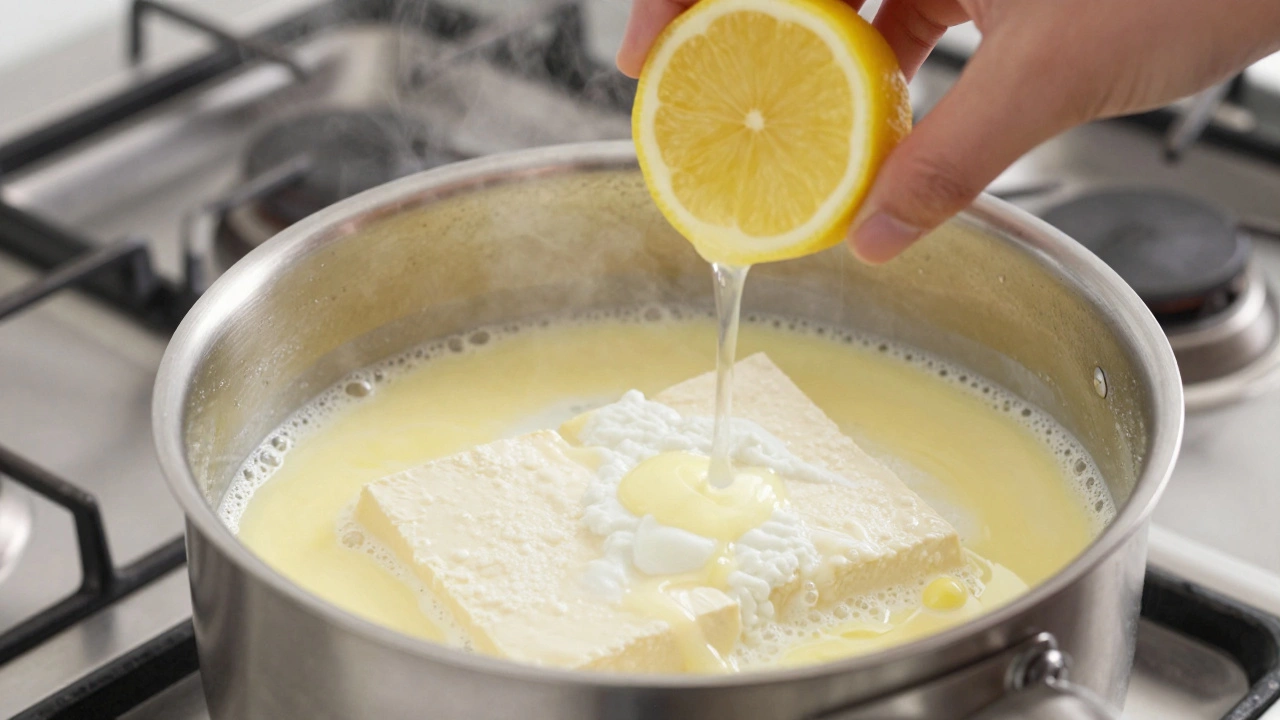
- Boil the Milk: Pour 1 liter of whole milk into a pot. Bring it to a rolling boil over medium-high heat. Stir occasionally to prevent burning.
- Add the Acid: Once boiling, reduce the heat to low. Slowly stir in 2-3 tablespoons of lemon juice or white vinegar. You’ll see the curds separate from the whey almost immediately. Stop adding acid once the separation is complete.
- Strain the Curds: Line a colander with cheesecloth and pour the mixture through. The hot whey will pass through, leaving the soft curds in the cloth.
- Rinse and Cool: Rinse the curds under cold water to stop the cooking process and remove any sour taste from the acid.
- Press and Shape: Gather the corners of the cloth and tie them tightly. Hang the bundle for 15-30 minutes for soft paneer, or place a weight on top for 1-2 hours for firmer paneer suitable for grilling.
The beauty of this method is that you can adjust the firmness based on your dish. Need soft cubes for a curry? Press lightly. Want slices for tikka? Press firmly with a heavy book or jar.
Common Pitfalls and How to Avoid Them
Even though the process is simple, first-timers often run into issues. The most common complaint is that the paneer didn’t set properly, remaining liquid or grainy. This usually happens if the milk wasn’t hot enough when the acid was added, or if the wrong type of milk was used.
Milk Type Matters: Not all milk curdles well. Ultra-High Temperature (UHT) milk, often found in cartons, has been heated to such high temperatures that the proteins denature permanently. They won’t coagulate with acid, meaning you’ll end up with a bowl of warm, slightly sour milk instead of cheese. Always use pasteurized, non-UHT milk. Fresh cow’s milk works best, but standard refrigerated whole milk from the grocery store is perfectly fine.
Acid Balance: Adding too much acid too quickly can make the paneer grainy and tough. Add the lemon juice or vinegar slowly, stirring gently. If you overshoot and the whey turns cloudy again, don’t panic-you’ve likely over-acidified. The curds will still form, but they might be smaller and harder to collect. In this case, just strain thoroughly and rinse well.
Scorching Risk: Milk burns easily. Keep a close eye on the pot as it boils. If you notice a skin forming on top, skim it off. A burnt bottom will ruin the flavor of your entire batch, no matter how good the rest of the process goes.
When Store-Bought Makes Sense
Despite the advantages of homemade paneer, there are scenarios where buying it is the smarter choice. If you’re hosting a large dinner party and need 1 kilogram of paneer, making it at home means boiling 5 liters of milk. That’s a lot of cleanup, a lot of waiting, and a lot of risk of something going wrong right before guests arrive. In this case, buying high-quality store-bought paneer saves stress and time.
Also, consider your kitchen setup. If you live in a small apartment with limited counter space or poor ventilation, dealing with large pots of boiling milk and steam might be uncomfortable. Additionally, if you only use paneer once a month, the effort of setting up the station, cleaning the cheesecloth, and washing the pots might outweigh the cost savings.
Another factor is waste reduction. When you make paneer, you produce whey. While whey can be used in smoothies or bread dough, many people discard it. If you’re not planning to use the whey, you’re throwing away a portion of the milk’s nutritional value. Store-bought paneer producers often utilize whey for other products, reducing overall waste.

Pro Tips for Better Homemade Paneer
To elevate your homemade paneer game, here are a few expert tips:
- Use a Heavy Pot: A thick-bottomed pan distributes heat evenly, reducing the risk of scorching.
- Cheesecloth Quality: Use a clean, lint-free cotton cloth. Synthetic fabrics can melt or impart unwanted flavors.
- Whey Utilization: Don’t throw away the whey! Freeze it in ice cube trays and add it to soups, stews, or smoothies for extra protein and tang.
- Storage: Store homemade paneer in an airtight container submerged in cold water in the refrigerator. Change the water daily to keep it fresh for up to 5 days.
- Experiment with Acids: While lemon juice and vinegar are standard, some chefs use citric acid dissolved in water for a more neutral flavor profile.
Final Verdict: Is It Worth It?
So, is homemade paneer worth it? If you cook Indian food regularly, especially dishes where paneer is a primary ingredient, the answer is a resounding yes. The difference in texture, taste, and cost is significant enough to make the effort worthwhile. You gain control over the quality, avoid unnecessary additives, and save money in the long run.
However, if you’re a casual cook who uses paneer infrequently, or if convenience is your top priority, store-bought paneer is a perfectly acceptable alternative. Look for brands that list minimal ingredients and check the expiration date to ensure freshness. Ultimately, the best paneer is the one you enjoy eating, whether it’s made in your kitchen or bought from the store.
Can I use UHT milk to make paneer?
No, UHT (Ultra-High Temperature) milk will not work for making paneer. The high-heat treatment denatures the proteins, preventing them from coagulating with acid. You must use pasteurized, non-UHT milk, preferably whole milk, for successful curdling.
How long does homemade paneer last in the fridge?
Homemade paneer lasts 3-5 days in the refrigerator if stored properly. Keep it in an airtight container submerged in cold water, changing the water daily to maintain freshness and prevent drying out.
Why did my paneer turn out grainy?
Grainy paneer is usually caused by adding too much acid too quickly or using milk that wasn’t hot enough. Add lemon juice or vinegar slowly while stirring gently. Also, ensure the milk reaches a rolling boil before adding the acid.
What should I do with the leftover whey?
Don’t discard the whey! It’s rich in protein and calcium. You can freeze it in ice cube trays and use it in smoothies, soups, stews, or even bread dough. It adds a slight tang and boosts nutritional value.
Can I make paneer with almond or soy milk?
Traditional paneer requires dairy milk due to its specific protein structure. Plant-based milks like almond or soy do not contain casein and will not curdle in the same way. However, you can make vegan "paneer" using tofu or coconut milk with agar-agar, but the texture and taste will differ significantly.
