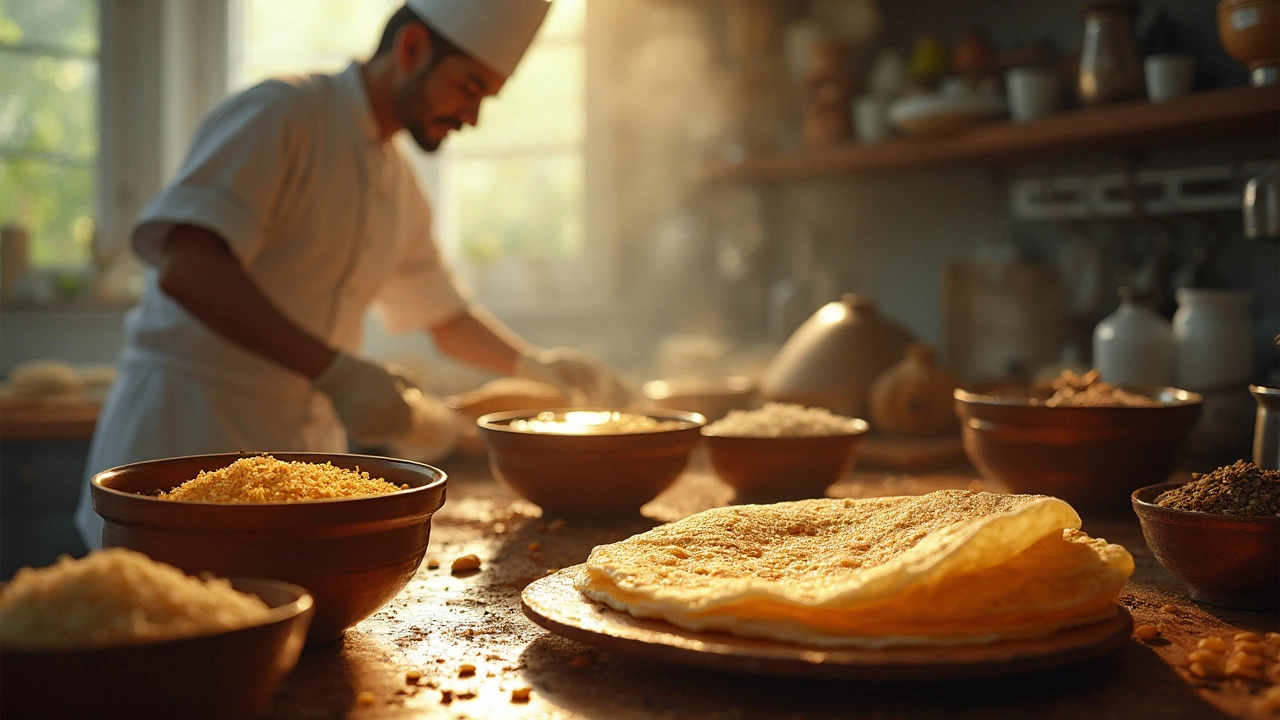
Ever wonder why your dosa doesn't have that perfect crisp like the ones served at your favorite restaurant? Getting that golden, crispy texture isn't as mysterious as it seems. It's all about nailing the basics and making slight adjustments in your process.
For starters, let's talk proportions. The classic dosa batter usually relies on a mix of rice and urad dal, but did you know that the type and ratio can make a world of difference? Using parboiled rice over regular rice boosts crispiness because it spreads and cooks evenly.
Fermentation is another keystone. If your batter's not fermenting well, chances are it won't crisp up properly. Warmer temperatures and adding a bit of fenugreek seeds during grinding can give the batter that bubbly, airy texture you want.
So you see, a few tweaks here and there can transform your dosas from limp to perfectly crunchy. Stick around as we check out other potential pitfalls, like cooking techniques and ingredient choices, and transform those floppy pancakes into the crispy delight they should be.
- Understanding Dosa Batter Basics
- Common Mistakes in Dosa Preparation
- The Role of Ingredients and Ratios
- Secrets to Perfect Fermentation
- Cooking Techniques for Crispiness
- Troubleshooting and Quick Fixes
Understanding Dosa Batter Basics
Getting the dosa batter right is key to achieving that perfect crispy texture. It boils down to the right blend of ingredients, soaking, and the magic of fermentation.
Ingredients Matter
A traditional dosa batter primarily uses parboiled rice and urad dal. The ideal ratio is typically three parts rice to one part dal, but feel free to tweak this based on your personal preference or regional variations. Some even add a spoonful of chana dal for an extra crisp.
- Rice: Go for parboiled or idli rice. It affects the consistency and, indirectly, the crispiness.
- Urad Dal: Opt for whole urad dal for better fermentation and texture.
- Optional Add-ons: A teaspoon of fenugreek seeds aids in fermentation and adds a touch of color.
The Soaking Process
Soaking is crucial. Soak rice and dal separately for at least four hours. This softens them up and helps them grind smoother, which is essential for a uniform batter.
The Art of Grinding
Once soaked, grinding becomes your next step. A wet grinder is your best bet, as it keeps the batter airy. Mix rice and dal with a little water and grind until you get a smooth yet slightly grainy paste.
Fermentation
Fermentation is what gives the dosa batter its slight tang and airy lightness. Let it ferment for 8-12 hours, depending on your kitchen's warmth. Warmer kitchens quicken the process, especially with fenugreek seeds added.
The batter should rise a bit and show tiny bubbles on the surface, indicating it's ready. If you're in cooler climates, placing the batter in a warm spot, like inside an oven with just the light on, does the trick.
Understanding Batter Consistency
Finally, consistency is key. The dosa batter shouldn't be too thick or too runny. Aim for a consistency similar to pancake batter. Adjust with a splash of water if it feels too thick after fermentation.
Common Mistakes in Dosa Preparation
A lot of folks wonder what's going wrong when their dosas aren't coming out just right. There are a few common pitfalls you might be hitting unknowingly. Let's break them down and see how you can turn things around.
Incorrect Rice and Dal Ratio
One of the most crucial things to get right is the rice-to-dal ratio in your dosa batter. Using too much dal will lead to thick, chewy dosas, while too much rice can lead to bland and brittle ones. A good starting point is a 3:1 ratio of rice to urad dal, which strikes a good balance for most people.
Skipping the Soaking Step
It's tempting to rush through the soaking process to get to that tasty crispy dosa faster, but patience pays off here. Skimping on soaking time reduces the batter's ability to ferment and develop flavors. Aim for at least 5-6 hours of soaking to get a smooth, creamy texture that ferments well.
Improper Fermentation
Fermentation is key in the dosa batter prep, and the climate can have a big effect. For cold places like Wellington, you might need to wrap the bowl in a warm cloth or place it in an oven with the light on. If the batter isn't bubbly and risen, it's not going to deliver that lovely crispiness.
Using Non-Stick Cooking Spray
Applying non-stick spray on your pan might sound helpful, but it can prevent crispy dosa from forming. Instead, use a little oil in the center of the pan—just enough to prevent sticking while ensuring a golden crust. Also, keep your flame on medium-high for maximum crispiness.
Water Content
Getting the water content just right in your dosa batter is vital. Too runny and it will take forever to cook, resulting in a floppy dosa. Too thick, and you’ll end up with something closer to an uttapam. Consistency should be like that of a light pancake batter. So adjust the water accordingly.
Uneven Cooking Surface
Nothing beats a flat, hot surface for cooking a crispy dosa. Uneven surfaces can lead to sections of the dosa remaining uncooked. If you see that your pan has dents or raises, consider investing in a new skillet. Remember, the heat should be steady and evenly distributed.
Avoiding these common mistakes will up your dosa game significantly. So keep these tips handy, and you'll soon be flipping perfect, crispy delights in your own kitchen!
The Role of Ingredients and Ratios
Creating that perfect dosa batter begins with choosing the right ingredients and getting the ratios spot-on. It might seem trivial, but a little change in proportions can make or break the crispiness of your dosas.
Choosing the Right Ingredients
For those perfectly crispy dosas, typically, the batter is made using rice and urad dal (split black gram). Parboiled rice is your best friend here. It helps achieve a smooth spreadable batter while ensuring the dosas turn out golden and crisp. Opt for a 3:1 ratio—three parts rice to one part urad dal—which strikes a good balance between crispiness and softness.
Another component to not skip is fenugreek seeds. Adding a teaspoon of these seeds enhances fermentation when grinding the batter, acting like a natural booster for the yeast.
The Importance of Ratios
While the standard 3:1 proportion works for many, sometimes a 4:1 ratio enhances crispiness even further. It's all about what texture you’re looking for. More rice means more crunch, while more dal adds to the softness.
For experiment lovers, a small addition of poha (flattened rice) or cooked rice while grinding can lead to fluffier dosas, while still maintaining the crunch.
Water Content Matters
Here's a common pitfall: Too much water can make your dosa batter runny, reducing the crisp factor. Aim for a consistency that’s flowing yet thick enough to coat a ladle. It should spread smoothly on the griddle without pooling.
Check Your Ingredient List
- Parboiled rice - 3 cups
- Urad dal - 1 cup
- Fenugreek seeds - 1 tsp
- Poha (optional) - a fistful
- Water - as needed
Take these ingredient tips and ratios as your starting point. The journey to perfect crispy, crunchy dosas starts here!
Secrets to Perfect Fermentation
You might think fermenting is just about letting your dosa batter sit around for a while, but it gets a bit more technical. Fermentation is where the real magic happens, giving your dosas their signature tang and the ability to crisp up beautifully.
The Warmth Factor
Temperature is a biggie when it comes to fermentation. The ideal environment is warm but not too hot—around 30-32°C is perfect. During colder months or if you're in a cooler climate, you can place your batter in the oven with just the light on, or tuck it into a heated room.
Consistency is Key
The consistency of your batter also plays a role. It should be thick enough to hold a ladle shape but not so thick it won't flow. A good visual cue? Think pancake batter, but a touch thicker.
"Proper fermentation is all about a delicate balance of temperature, time, and ingredients," shares renowned chef Sanjeev Kapoor. "Master these, and you’re halfway to the perfect dosa!"
The Ingredient Twist
Adding a little fenugreek seeds (methi) while grinding your rice and dal can speed up fermentation and add flavor. These seeds pack enzymes that help break down carbs for fermentation, and that's what helps with the crispiness later on. Just a teaspoon or two will do.
Timing It Right
- In warm weather, let the batter sit for about 8-12 hours.
- If it's colder, it might need up to 15 hours.
- Look for plenty of bubbles and a slight increase in volume as signs it's ready.
Remember, fermentation not only impacts texture but also the flavor profile of your dosas. Perfect it, and you're in for a treat that rivals any restaurant-quality crispy dosa!
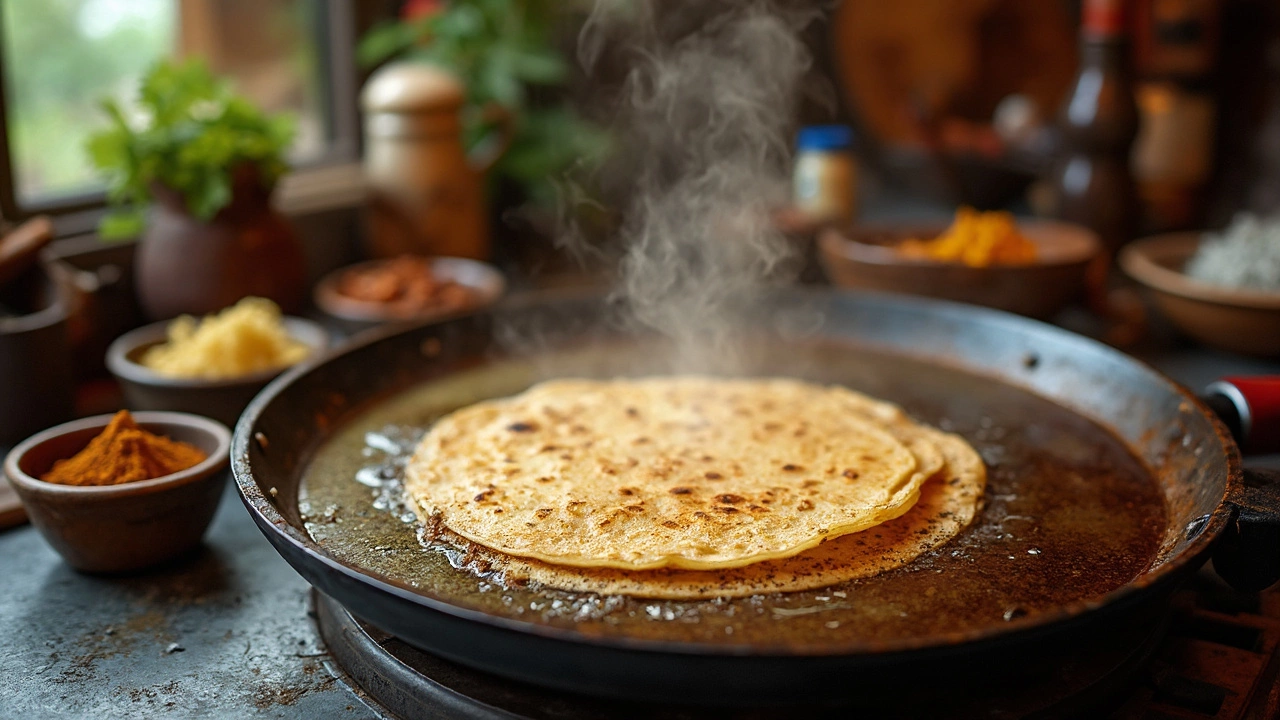
Cooking Techniques for Crispiness
Getting that perfect crispy golden dose is all about technique. There's more to it than just the dosa batter. The secret lies in how you cook it.
Prepping Your Pan
First off, the right pan makes a significant difference. Ideally, use a non-stick or a well-seasoned cast-iron pan. Heat it well before pouring the batter—this can't be stressed enough. If you sprinkle some water on it and it sizzles right away, you're good to go.
Oiling Strategy
Next, think about oil. You don't want too much, just enough to give a slight glaze on the hot surface. Once your dosa's almost cooked, a little drizzle around the edges helps it lift effortlessly.
Spreading the Batter
The way you spread the dosa batter impacts its texture. Pour a ladle of batter at the center of the pan and swiftly spread it in a circular motion. Aim for a thin, even layer for that crispy finish.
Cooking Time and Heat Control
Be patient with cooking time. Keep the heat on medium, letting it cook until you see the edges turning brown and lifting. Steer clear of flipping it if you seek crispiness; let it cook thoroughly on one side before removing.
Quick Tip
Want it extra crispy? Add a trickle of ghee towards the end and watch it crisp up perfectly. Also, try mixing a spoonful of semolina into your batter for some extra crisp.
Pro Tip
Cooking more than one? Wipe the pan with a damp cloth in between dosas to bring the temperature down, preventing the next dosa from sticking or burning.
| Technique | Impact on Crispiness |
|---|---|
| Pan Selection | Ensures even cooking |
| Oil Usage | Aids in lifting and adds flavor |
| Batter Spreading | Affects thickness and texture |
| Heat Control | Avoids burning, achieves crispiness |
So next time, keep these strategies on hand. With these cooking practices and the right dosa batter, you'll be flipping deliciously crispy dosas in no time.
Troubleshooting and Quick Fixes
So, your dosa batter is not playing nice, and those crispy dosas are still a dream away? Don't worry, you've got options. Here's how to tweak things and get back on track.
Checking Consistency
The right batter consistency is crucial. Your batter should kind of flow like pan cake batter but not be watery. If it's too thick, dilute it with water little by little until it spreads easily on the pan. If it's too thin, try adding a bit of rice flour to thicken it up.
Fermentation Fixes
Got a batter that just won't ferment? Warmth is key. Try placing it in a warm oven (around 30°C) or wrap the vessel in a blanket. Also, consider adding a pinch of sugar to kickstart the process.
"Fermentation is less about time and more about bubbles," says Chef Arjun Singh, an expert in Indian cuisine. "A well-fermented batter is alive, full of bubbles, and ready to crisp up beautifully."
Adjusting Cooking Techniques
- Pan Temperature: Make sure your tawa or pan is well heated before you start. Water dropped on it should sizzle away quickly.
- Oil Speckling: Once you spread the batter, drizzle some oil around the edges. This helps in easy lifting and adds to the crispiness.
- Spreading Technique: Spread the batter thin and even. Too thick and it won't crispen up. Use the back of a ladle for best results.
Temperature Tweaks
If your dosa looks limp, the heat might be too low. Turn it up a notch and watch the magic. Just don’t overdo it, or you’ll end up with burnt edges!
| Problem | Quick Fix |
|---|---|
| Batter too thick | Gradually add water |
| Batter too thin | Mix in rice flour |
| Won't ferment | Keep warm, add sugar |
| Limp dosas | Increase heat on the pan |
By understanding these tweaks and techniques, you'll be on your way to enjoying those perfect crispy dosa delights. Happy cooking!
