Ever noticed how that pillowy soft cheese in rasgulla just feels different from the block you use in your paneer tikka? Turns out, the difference between paneer and chena is way more than just how they look.
If you've tried making homemade cheese, you've probably heard people use the words ‘paneer’ and ‘chena’ interchangeably. But ask any Indian grandma, and she'll tell you they're cousins, not siblings. They start with the same basics—milk curdled with an acid—but how you handle what comes next totally changes the game.
Get this wrong, and your sweets might turn out chewy or your curry might crumble apart. Tiny details, like how much you squeeze out the whey, can decide if you're on your way to soft chena for Bengali desserts or firm paneer for grilling. If you want that perfect melt-in-the-mouth bite, you’ve got to know which is which, and where each one shines.
- How Paneer and Chena Are Made
- Texture and Taste: A Side-by-Side Look
- Why the Difference Matters in Cooking
- Tips for Making Paneer and Chena at Home
- Best Uses for Each Cheese
How Paneer and Chena Are Made
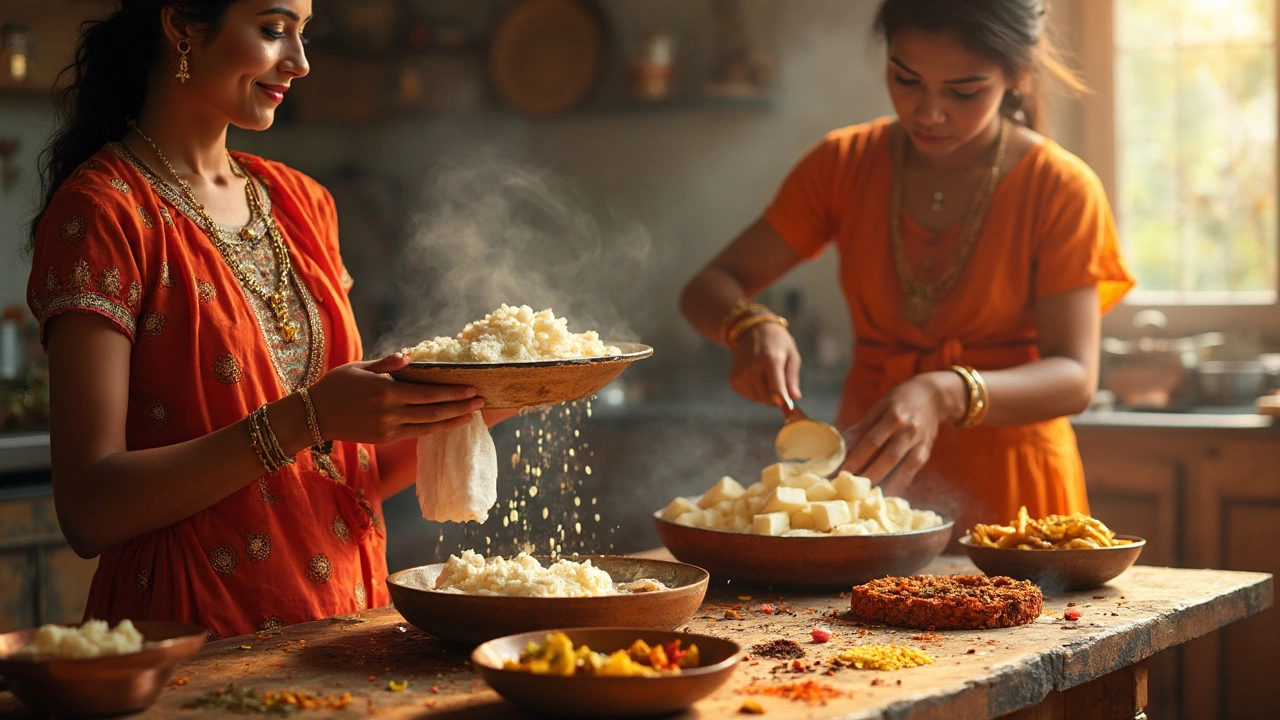
Making both paneer and chena starts with the same basic idea: take whole milk, heat it up, and split it with an acid like lemon juice or vinegar. This separates the curds (the actual cheese) from the whey (the liquid). But here's where things get interesting—they're handled differently after splitting, which is what makes them truly stand apart.
If you’re going for chena, you want soft, moist, and crumbly curds. As soon as the milk curdles, the mixture gets poured into a muslin cloth, but you only lightly squeeze out the water. That’s because chena needs to stay a bit damp and soft so you can knead it smooth for those legendary Indian sweets like rasgulla and sandesh.
With paneer, things get firmer. After you pour the curdled milk through the cloth, you really press out more whey—sometimes by weighting it down with a heavy object for at least 30 minutes. The pressing makes it dense and helps it hold its shape for slicing and frying. Press long enough, and you can cube it up just like store-bought paneer.
Here’s a quick breakdown to make it clear:
| Cheese | Draining Time | Pressed? | Texture |
|---|---|---|---|
| Chena | Short (just until water stops dripping) | No | Soft, moist, crumbly |
| Paneer | Long (30+ mins) | Yes | Firm, sliceable |
This tiny difference—how much you press and drain—actually changes everything about how each cheese can be used in cooking. If you try using moist chena in a curry, it’ll fall apart. Paneer, on the other hand, won’t give you that perfect, fluffy texture for sweets because it’s too firm.
- Tip: Always use full-fat milk for both chena and paneer. Low-fat milk gives you sad, rubbery cheese that’s nothing like the real deal.
- Cider vinegar or fresh lime juice work well as curdling agents, but the flavor might change a bit depending on what you use.
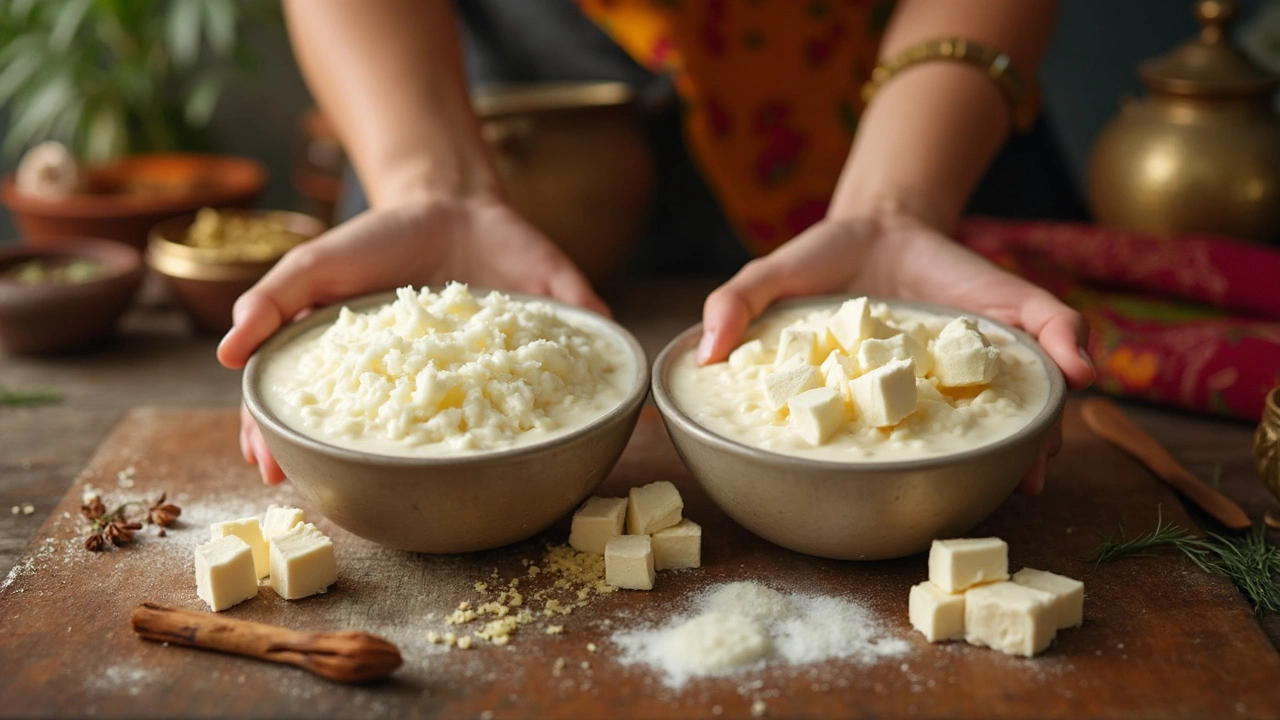
Texture and Taste: A Side-by-Side Look
If you’re trying to figure out whether you’ve made paneer or chena, the easiest giveaway is in how they feel and taste. Chena has a crumbly, super-soft texture—almost like damp, fine cottage cheese. Press a bit between your fingers and it just smooshes. That’s because it’s lightly drained and left loose, perfect for soaking up sugary syrup in sweets like rasgulla or sandesh. It’s never pressed or shaped into blocks. If you try to fry chena, it’ll fall apart completely. That’s a quick way to tell you’ve got the dessert cheese.
Paneer, on the other hand, is meant to hold its shape. After you curdle the milk, you wrap the curds in a muslin cloth and press them under a heavy weight—think a plate with a big pot of water or a bag of flour on top. This packs the curds together so you can cut them into neat cubes. Good paneer is firm enough to sear or grill but doesn’t become tough or rubbery if you cook it right. When you bite into a piece, it stays together, yet feels soft to chew—not gritty, not crumbly.
Taste-wise, neither cheese has a strong flavor. On their own, they’re pretty mild. Chena, thanks to all the extra moisture, can taste a bit fresher and milkier, while paneer’s flavor is denser, a little more “set.” Both are blank slates that soak up the taste of whatever you cook them with—paneer in spicy gravies or grilled on skewers, chena in sweet floral syrups or kneaded into desserts.
The bottom line? If your cheese is soft, grainy, and moist, you’ve got chena. If it holds up in cubes and survives a pan fry, you’ve nailed homemade paneer—all by changing up the draining and pressing step. It’s one of those kitchen details that really sets apart different Indian dishes.
Why the Difference Matters in Cooking
If you’re making classic Indian sweets or your favorite curry, using the wrong kind of cheese can be a total letdown. Here’s where things get real: paneer and chena each have their own vibe in the kitchen, and swapping them can totally mess with your final dish.
Chena is super soft and crumbly because it doesn’t get pressed much once the whey is drained. That’s why it absorbs sugar syrup so easily, making things like rasgulla and sandesh fluffy instead of rubbery. Try using paneer here, and your sweets end up dense and dry. According to Kolkata chef Sandeep Ghosh,
“Chena is the secret behind melt-in-your-mouth Bengali mishti. You can’t get the same result with pressed paneer.”
On the flip side, paneer is all about holding its shape. After draining, it gets pressed under weight for a while. This makes it firm enough to hold cubes that don’t fall apart in hot gravy or when thrown on the grill. Ever wondered why restaurant-style paneer tikka turns out so perfectly? It’s that pressing step—skip it, and you just get a heap of mush.
- Chena is perfect for sweets: It stays soft, soaks up flavors, and never gets chewy.
- Paneer wins in savory dishes: You can grill, fry, or simmer it in sauces without it breaking up.
Bottom line—next time you’re at the stove, remember: if your recipe calls for chena but you reach for paneer, or vice versa, you’re not going to get the taste or texture you want. Pay attention to the tiny steps when making these cheeses at home. That’s what takes your cooking from “meh” to seriously good.
Tips for Making Paneer and Chena at Home
If you're itching to make paneer or chena in your own kitchen, here’s the lowdown that separates them, right from when the milk gets curdled.
The first step is the same for both: bring whole milk to a boil and add an acid—lemon juice or vinegar works best. Curds will separate from the whey within minutes. The trick is what comes next and how you treat that curdled milk.
- For Paneer: Once the milk curdles, pour everything into a muslin cloth or a clean kitchen towel. Rinse with cold water to take out the lemony or vinegary taste. Then, bring the cloth edges together and squeeze—really squeeze—out every bit of whey. Flatten the bundle and press it down with something heavy for 30 minutes to 2 hours. This pressing is what makes paneer firm and easy to cut into cubes.
- For Chena: Same start—curdle the milk and dump it into a cloth. But here’s the catch: don’t go wild with the squeezing! You want to keep some moisture so your chena stays soft and crumbly, not rubbery. Skip the heavy pressing. Just hang the bundle for 30 minutes, then fluff with your fingers. It should feel like soft, slightly damp bread crumbs.
Want extra creamy paneer for dishes like tikka? Use full-fat milk, and after pressing, pop it in cold water for 10 minutes—this makes it less crumbly.
For chena-based sweets like rasgulla, knead the chena dough until it feels smooth and almost stretchy. This helps the sweets turn out fluffy instead of gritty.
Don’t ditch the leftover whey! It’s full of protein and works great for kneading bread or as a nutrient-rich water in soups.

Best Uses for Each Cheese
Knowing when to use paneer and when to reach for chena can totally change your food game. These cheeses don’t just look different—each brings something special to the table, and mixing them up can mess with the texture, taste, and even the final look of your dish.
If you're making savory recipes, paneer's firm, sliceable texture is perfect. It stays in neat cubes or slabs, which is why you'll find it in classics like palak paneer, paneer tikka, or paneer butter masala. It grills well and won’t melt or fall apart in curry, so you get chunks that soak up flavor but still hold their own. You can even lightly fry it for that golden crust without worrying about it turning gooey or mushy.
Chena is a star in Bengali sweets and anything that needs a soft, crumbly touch. Rasgullas, sandesh, and chum chum all start with chena. It’s super soft and moist, easy to knead, and can be shaped into balls or patties. The loose texture lets sugar mix right in, giving you that light, spongy bite. You just can't swap in paneer here or the sweets will end up hard and dense.
- Paneer: Best for grilling, frying, or simmering in spicy sauces. It’s usually cut into blocks or cubes.
- Chena: Best for kneading into dough, molding, and soaking in sugar syrup. It’s always fresh and never pressed into a solid block.
Bengal produces over 40% of India’s sweets that use chena as the base, with rasgulla being the most famous. Meanwhile, paneer is a weekly staple in North Indian kitchens, with over 70% of households using it for curries or snacks. Here’s a cheat sheet to help you keep things straight:
| Dish Type | Cheese Used | Texture Needed |
|---|---|---|
| Paneer Butter Masala | Paneer | Firm, blocks |
| Rasgulla | Chena | Soft, kneadable |
| Sandesh | Chena | Crumbly, moist |
| Paneer Tikka | Paneer | Holds shape when grilled |
Here’s a quick tip for home cooks: if your cheese needs to hold its shape, go for paneer. If it needs to mix smoothly or be shaped for sweets, use chena. Don’t try to cut corners by swapping one for the other—the results never taste right.
