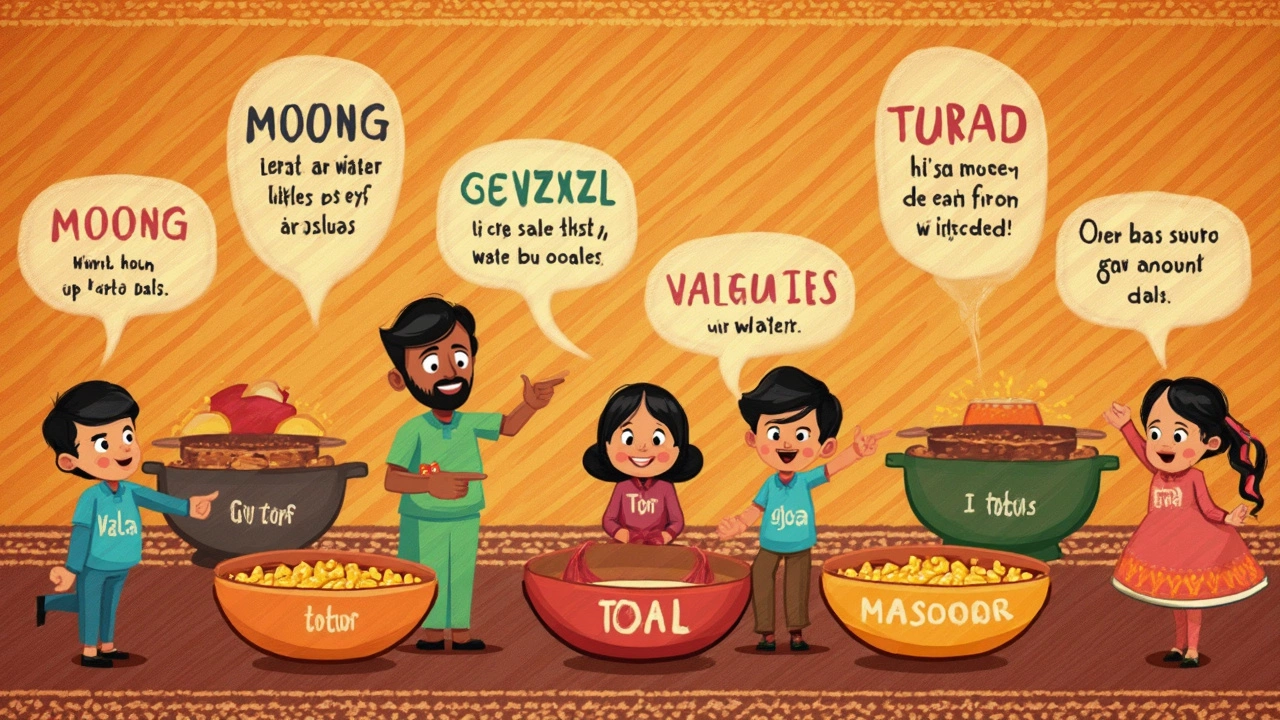
Ever ended up with dal that's watery one time and thick as paste the next? You're not alone. The secret to perfect dal isn't just in the spices, but in nailing the right water to dal ratio. Most home cooks wing it, but a little precision here saves you lots of trial and error.
Here's the no-nonsense answer: for split red lentils (masoor dal) and yellow moong dal, start with 3 cups of water for every 1 cup of dal. For chana dal or toor dal, you need a bit more patience and water—usually about 3.5 to 4 cups of water per cup of dal, since these are tougher types. This is for stovetop cooking. Pressure cookers, that’s a different story—you can get away with a bit less, usually around 2.5 to 3 cups of water per cup of dal.
Most people don't realize that fresher lentils cook faster, and old dal might soak up even more water. If you’re making dal for the family and your kid hates ‘runny stuff’ like mine, just reduce half a cup of water and simmer uncovered at the end to thicken it up. It’s super forgiving, but the right ratio makes it way easier to fix the texture later on.
- Why Ratio Matters in Dal
- Basic Water to Dal Ratio for Popular Dals
- Pressure Cooker vs. Stovetop: What Changes
- Expert Tips for Creamy or Thick Dal
- Common Mistakes and Fixes
Why Ratio Matters in Dal
The water to dal ratio isn’t just some throwaway tip—it's the backbone of a dal recipe simple that actually works. Get the balance wrong, and you'll either chew your way through a stodgy mess or scoop up something runnier than soup. The whole point of understanding the water to dal ratio is it takes the guesswork out of home cooking, whether you're making a family favorite or trying out a new blend of spices.
Different types of dals—like masoor, moong, toor, and chana—have slightly different needs. For example, red lentils break down quickly and can turn soupy if you use as much water as you would for tougher dals like chana. When you're eyeballing the water instead of measuring, you risk messing up that smooth, creamy texture everyone loves.
Let’s be honest, dal is part comfort food, part weeknight lifesaver, and mastering this ratio saves both time and stress. Instead of constantly checking and stirring to see if it's sticking or burning, a solid ratio lets you set a timer, walk away, and come back to cooking dal that’s right where you want it. Makes dinner with kids (who notice everything) way less hectic.
Here’s a quick look at how ratios affect different kinds of dal:
| Type of Dal | Ideal Water to Dal Ratio | Result |
|---|---|---|
| Masoor Dal (Red Lentils) | 3:1 (Water:Dal) | Creamy, soft |
| Toor Dal | 3.5-4:1 | Silky, not gritty |
| Chana Dal | 4:1 | Soft, not chalky |
| Moong Dal | 3:1 | Smooth and easy to blend |
Settling this one ratio means less hassle. You’ll know exactly what to expect instead of constantly peeking under the lid, and you’ll avoid last-minute rescues involving extra boiling or sneaky water additions. No more guessing games; just reliable, tasty Indian dal every single time.
Basic Water to Dal Ratio for Popular Dals
Getting the water to dal ratio right is honestly what makes or breaks your dal. The good news? Most dals follow a pretty easy rule of thumb. Let's break it down so you don’t have to Google it mid-cooking every time.
- Masoor dal (red lentils): Use 3 cups of water for every 1 cup of dal. These cook fast and get mushy quick, so extra water isn’t needed unless you want it super soupy.
- Moong dal (yellow split): 3 cups of water per cup works for a creamy, soft texture. It thickens up as it cools down, so if you like it pouring smooth, stick with this ratio.
- Toor dal (split pigeon peas): Go for 3.5 to 4 cups of water per cup of dal. It's a bit sturdier than masoor or moong, so err on the side of more water if you’re making sambhar or a runnier dish.
- Chana dal: These little guys take longer and soak up even more liquid. Start with 4 cups of water per cup of dal. If you’re aiming for that soft, almost mashed texture, don’t skimp on water.
- Urad dal (black gram): For white urad dal that you use in dal makhani, use roughly 3.5 to 4 cups water for each cup, since this one thickens up big time while simmering.
Here's a quick-reference table for a few of the most common dals. This saves you from scrambling with a measuring cup, trust me.
| Type of Dal | Water (cups) per Cup of Dal | Texture That Works Best |
|---|---|---|
| Masoor (Red) | 3 | Creamy, soft |
| Moong (Yellow Split) | 3 | Silky smooth |
| Toor (Pigeon Pea) | 3.5-4 | Soft, slightly textured |
| Chana (Bengal Gram) | 4 | Chunky-soft |
| Urad (Black Gram) | 3.5-4 | Rich, thick |
Don’t forget: how thick you want your dal matters. Want something you can mop up with bread? Use less water and finish uncovered. Chasing soup for rice? Add a splash more near the end. The dal recipe simple rule is to keep an eye on it, since every batch of lentils can behave a little differently. Even Larissa—my picky eater—prefers smoother dal, so I often go for a little extra water and just simmer off what I don’t need at the end.

Pressure Cooker vs. Stovetop: What Changes
Wondering whether a pressure cooker or stovetop works better for your dal recipe simple? Here’s the scoop: both can give you awesome results, but the process—especially the water to dal ratio—shifts a bit. The pressure cooker uses less water. Why? Its sealed design keeps the steam—and all the moisture—inside, so you don’t lose much liquid during cooking.
Typically, if you’re going the traditional stovetop route, you’ll use about 3 to 4 cups water for every cup of dal. On the pressure cooker side, most folks drop that back to 2.5 to 3 cups for one cup of dal. That’s because pressure builds up and drives the water into the lentils faster, making them tender without a ton of extra liquid sloshing around.
Ever burned dal in a pressure cooker? Probably because you used too little water or left it on too long. Once you know your cooker and the type of dal you’re using, it’s easier to hit the sweet spot. Red lentils (masoor dal) need just 2.5 cups water per cup for soft, creamy results in the pressure cooker, but tougher dals like chana or toor still crave more—so 3 cups is safer to avoid sticking or burning at the bottom.
"Pressure cooking can reduce cook times for pulses by up to 70%, but it’s important to use enough water, as dry pulses can scorch quickly," says Chef Ranveer Brar, a well-known face in Indian home cooking.
- Pressure Cooker: Saves time (15-20 minutes), less water (2.5-3 cups per cup of dal), better for busy days.
- Stovetop: Takes longer (30-45 minutes), needs more water (3-4 cups per cup of dal), gives you more control if you like to adjust seasoning midway.
One quick tip most people miss: always wait for the pressure to release naturally before opening. This lets the dal finish soaking up flavor and prevents splatters or watery results.
Expert Tips for Creamy or Thick Dal
If you want your dal recipe simple but super creamy, it’s all about technique and tiny tweaks rather than adding a mountain of butter. First up: always rinse your lentils well until the water runs clear. This gets rid of extra starch and helps avoid that sticky mess.
Soak tougher dals like chana, toor, and urad for at least 30 minutes. This softens them up so they cook more evenly and soak up flavor. For thick dal, simmer the cooked lentils uncovered at the end to let out excess water—don’t blast the heat, just let them bubble gently. A simple hand whisk or the back of a big spoon can be used to mash some of the cooked dal, which gives a rich, creamy consistency without dumping in cream.
When you're looking for a super creamy result for your Indian dal, stir in a tablespoon of ghee or a dab of butter at the very end. For vegan options, coconut milk or a splash of oat cream works really well and doesn’t overpower the flavor. Don’t forget to season with enough salt—the right amount brings out the earthy dal notes.
Timing matters, especially for pressure-cooked dal. If you open the lid and the dal looks watery, switch to sauté mode or cook it open on the stove for 5-10 minutes. Here’s a quick cheat sheet if you want different textures:
| Dal Type | Ratio (Water:Dal) | Texture |
|---|---|---|
| Masoor, Moong | 3:1 (stove), 2.5:1 (pressure) | Creamy, runny |
| Toor, Chana | 4:1 (stove), 3:1 (pressure) | Thick, hearty |
Final tip: give your dal a rest for five minutes after cooking. It thickens up as it cools and saves you from panic-thickening with unnecessary flour or cornstarch. Taste and adjust water at the end, not the start—because no two bags of dal cook up quite the same.

Common Mistakes and Fixes
Even people who cook dal recipe simple dishes all the time run into annoying problems. It’s easy to go wrong with water to dal ratio if you’re not paying attention—or if you’re using a new type of dal. Here’s a cheat sheet so you don’t get stuck with soupy or stubborn lentils.
- Dal is too thick or dry: This usually means you didn't add enough water at the start, or you cooked with the lid off for too long. The fix is easy—just add warm water a little at a time, stir well, and simmer for a few more minutes until you hit the right texture.
- Dal is watery: If your lentil soup looks more like a runny mess, just simmer it uncovered on low until some water evaporates. You can mash a few spoonfuls of dal against the side of the pot to speed up thickening without changing the flavor.
- Undercooked dal: If the lentils are still tough but you’re out of water, add another half cup, put the lid back on, and let it cook for 10-15 more minutes. Old dal (or skipping the soak) means longer cooking time, so don't rush it. Pressure cookers help a lot here.
- Dal is mushy or falling apart: This is almost always from too much water or overcooking, especially with softer dals like moong or masoor. It’s not a total loss—you can rescue it by turning it into a creamy dal fry or even blend and use as a soup base.
Here’s a quick reference on common dal problems and the right tweaks:
| Problem | Fix |
|---|---|
| Too watery | Simmer uncovered, mash some dal |
| Too thick/dry | Add warm water and stir |
| Tough, undercooked | Add water, cook longer (lid on) |
| Mushy, overcooked | Repurpose as dal fry or soup base |
One last tip: always check the consistency before serving. Dals thicken as they cool, so what looks just right in the pot can be paste-like by dinnertime. If you’re making Indian dal in advance, keep it on the runnier side and adjust at the last minute. A flexible mindset goes a long way here!

